 Skip to content
 Create DIY Watercolor Holiday Cards at Home
This holiday season, I’m excited to share how to make stunning DIY watercolor holiday cards. Whether you’re an experienced artist or a beginner, these handmade cards make your greetings special. I’ll show you how to use watercolor techniques to create your own unique cards.
This post contains affiliate links. If you decide to purchase thru one of my links, I will receive a small commission at no additional cost to you.
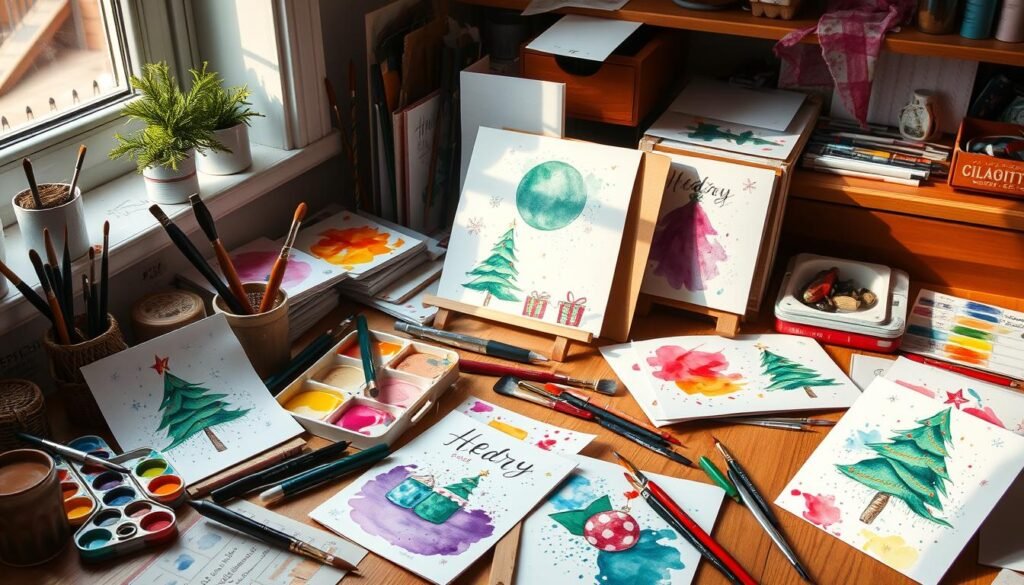
In this tutorial, you’ll see simple yet beautiful watercolor card designs. You’ll learn to make Christmas trees, snowstorm scenes, and floral patterns. I’ll tell you which paints to use, like Phthalo Blue (GS) and Quinacridone Rose, for the perfect colors.
Essential Materials and Supplies for Watercolor Card Making
To make stunning watercolor holiday cards at home, you need the right stuff. This includes the best watercolor papers and paints, plus essential tools and accessories. Let’s dive into what you need to create beautiful, personalized cards for the holiday season.
Best Watercolor Papers and Cards
The key to a great watercolor project is the paper. For making cards, choose 140 lb (300 gsm) cold-pressed watercolor paper or pre-folded watercolor cardstock. These papers are heavy and can handle watercolors without warping or buckling.
amazon
If you plan on using a lot of wet on wet painting, then you may want to tape your paper down with some painters tape around the edges.
Pro Tip: Tape along the edges of your paper will also give your design a nice clean finish.
Recommended Paint Sets and Brushes
For watercolor paints, pick a set with colors like Phthalo Blue (GS), Lemon Yellow, Sap Green, and Raw Sienna. Winsor & Newton Cotman Watercolor paints are excellent quality paints but a bit more expensive than you may want to spend especially if you are a beginner to watercolor. One of my favorite watercolor pans with a reasonable price point is the Grabie Watercolor Paint set. This set comes with 100 colors so you don’t have to worry about mixing your own colors.
You will also need a watercolor brush. I think you can get away with using just a basic round number 4 brush for Christmas Cards. You will be able to get brush strokes in multiple sizes with a good round brush.
Additional Tools and Accessories
- Low-tack masking tape or fluid for creating crisp lines and shapes
- Kneaded rubber eraser for subtle corrections and highlights
- Water containers, paper towels, and a clean, well-lit workspace
With these key watercolor painting materials, you’re ready to make beautiful, personalized holiday cards.
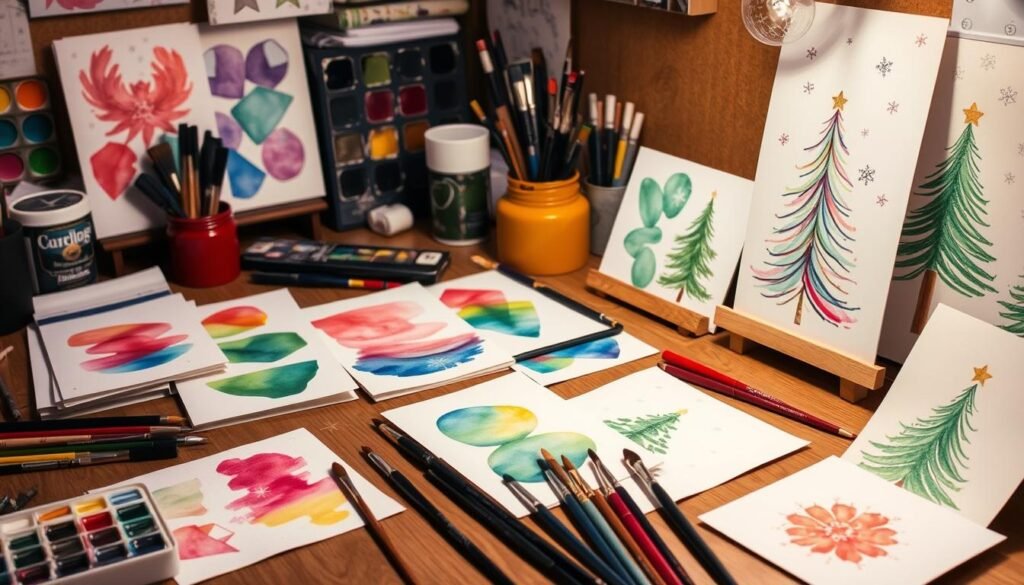
Getting Started: Basic Watercolor Techniques for Beginners
Let’s start with the basics – color mixing. Experiment with a split primary color palette. This includes warm and cool versions of red, blue, and yellow. Blend these hues to create vibrant greens, rich purples, and everything in between. Practice making smooth, even washes by applying wet paint on wet paper, known as the “wet on wet” technique.
- Discover the art of “charging color” by adding fresh pigment to damp areas, creating soft, natural transitions.
- Explore the versatility of “variegated washes” – layering different colors on the same wet surface for a stunning, mottled effect.
- Harness the power of “glazing” by applying thin, transparent layers of color to build depth and dimension.
- Learn the importance of “reserving whites” – leaving areas of the paper untouched to create crisp highlights and add drama to your compositions.
Brush control is key when working with watercolors. Practice painting simple patterns like Christmas trees. This will hone your brushwork and ensure a smooth, confident hand. Mastering these fundamental techniques will give you the tools to create watercolor paintings that will make your holiday cards stand out.
Remember, the joy of watercolor lies in the unexpected. Embrace the medium’s inherent fluidity and spontaneity. I love watching the colors dance across the paper. No 2 designs will ever be exactly the same so experiment, play, and most importantly, have fun.
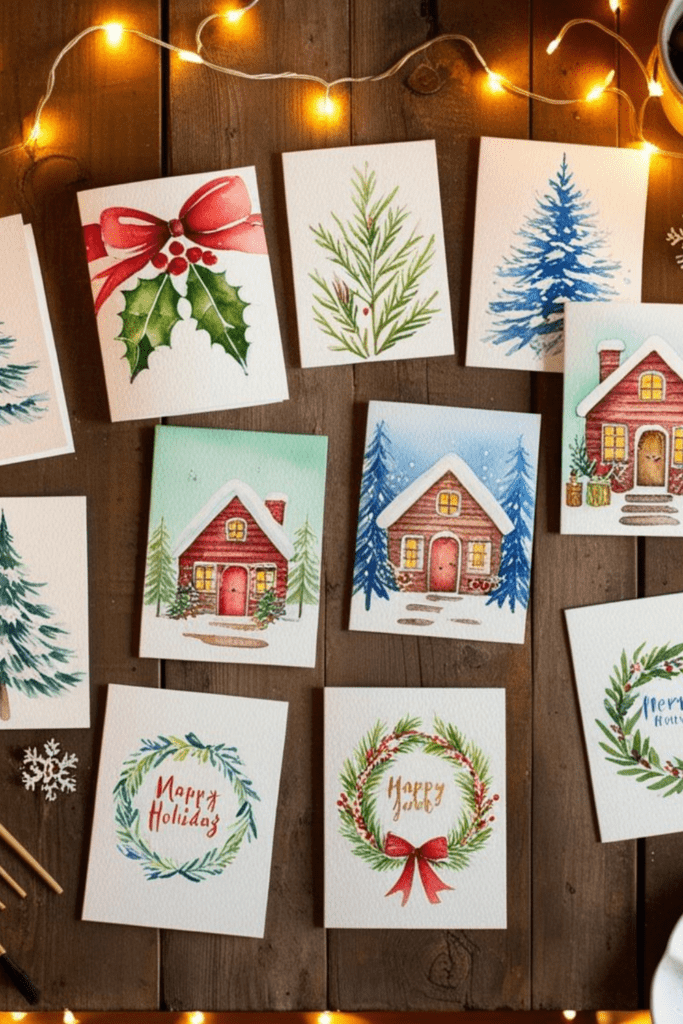
DIY Watercolor Holiday Cards: Simple Designs for Festive Season
Christmas Tree Pattern Cards
A painted Christmas tree is a perfect holiday symbol. Start by painting nine triangles in green, using different brush strokes. Add depth with layers of green and textures. Finish with metallic gold or silver for a stunning look.
Winter Wonderland Scenes
Bring the magic of snow to your cards with a watercolor winter scene. Use masking fluid for snowflakes. Then, paint the sky with blue and white. Add more layers and details, like trees or a cabin, for depth.
Holly and Berry Designs
Use the colors of the season with a holly and berry design. Paint holly leaves with a variegated wash. Add red berries with a square brush. Finish with pine leaves or cones for a festive look.
| Color Combination | Design Element |
|---|---|
| Raw Sienna and Transparent Pyrrol Orange | Pine cones and stems |
| Lemon Yellow and Phthalo Blue | Leaves |
| Transparent Pyrrol Orange and Quinacridone Rose | Berries |

Creating Festive Patterns and Compositions
Masking Techniques for Snowflakes
Make delicate snowflakes with masking fluid. Use low-tack masking tape or fluid on your watercolor paper. Then, paint bright backgrounds. When you remove the mask, you’ll see detailed snowflake patterns. They add a playful touch to your christmas illustrations.
Layering Methods for Depth
Get depth in your winter wonderland scenes with layering. Start with a light base, then add more color and texture. Use different paint applications.
Try charge-in techniques and variegated washes. They add interest and complexity to your art.
Border and Background Effects
Make your handmade cards pop with creative borders and backgrounds. Use masking tape for clean, geometric lines. Or, try sprinkling salt over wet watercolor, using sponges, and other methods for unique textures.
Adding Personal Touches with Text and Calligraphy
Choose a festive phrase like “Merry Christmas” or “Season’s Greetings.” If you’re not good at calligraphy, use a stamp or use some free fonts from Creative Fabrica. Paint the stamp with watercolor paint, but don’t use too much water. Press it firmly onto the card. You can place it at the top or bottom for a nice look.
For a personal touch, try calligraphy. Get a calligraphy pen or nib and practice. The elegant strokes can make your custom greeting cards look sophisticated. You can also use calligraphy on the envelope seal for a beautiful finish.
The fun of making these handmade cards is in the journey, not just the end result. Don’t worry about mistakes. Try new things and have fun with different designs. Your cards will surely bring joy and warm wishes to those who receive them.
Professional Tips for Finishing and Presentation
Making beautiful holiday greeting cards, custom greeting cards, and handmade cards needs careful attention. From the start to the end, focus on the details. When you’re done with your watercolor art, follow these tips for a stunning finish.
Drying and Flattening Methods
Make sure your watercolor paintings are dry before removing masking fluid or tape. Use a kneaded rubber eraser to lift off the masking fluid carefully. This way, you won’t harm the paper. If your cards have creases or are warped, place them between heavy books or under a weight to flatten them.
Envelope and Packaging Ideas
Choose the right envelopes and packaging to enhance your holiday greeting cards. Look for vintage designs or make your own custom envelopes. Adding a small 4×6 photo inside the card adds a personal touch. End each card with a unique handwritten message to make it special.
To add a final touch, wrap your custom greeting cards in delicate ribbon. Or, turn your watercolor paintings into ornaments to include with the cards. These details will make your handmade cards feel extra special and thoughtful.
Common Mistakes to Avoid When Making Watercolor Cards
Here’s a few common mistakes that are easy to make when you get started with watercolors. Try to avoid them but don’t worry if you make one or two along the way. One big mistake is using your best brushes for masking fluid. Masking fluid can damage delicate bristles. So, use a separate set of brushes for it. Clean your brushes fast after using masking fluid to avoid damage.
It’s also crucial to let each layer dry fully before adding more paint or masking fluid. Rushing can cause blending and muddy colors. So, be patient and let each layer dry completely before moving on.
- Avoid using thin paper like printer paper, which can warp and buckle when exposed to water.
- Don’t worry about perfection – embrace the handmade look and feel of your watercolor painting for handmade cards.
- Experiment with different designs and techniques to find what works best for your christmas art projects.
By remembering these common mistakes and practicing, you’ll create beautiful watercolor painting for your handmade cards. These will capture the holiday spirit perfectly.
Conclusion
Making DIY watercolor holiday cards is a fun, affordable, and personal way to wish your loved ones a Merry Christmas. Try out different designs, like simple DIY watercolor holiday cards with Christmas trees or intricate floral patterns and Christmas illustrations. Get your family involved to make a collection of handmade cards that will make everyone smile.
Even if you’re new to watercolor, you can still make beautiful cards with a little practice and patience. Enjoy the process, find peace in painting, and let your creativity flow.
So, get your materials ready and start making your own DIY watercolor holiday cards. Happy crafting, and Merry Christmas!


