Skip to content
 I’m sure you have recently seen glitter rose bouquets taking over social media lately. With over 5,000 people searching for DIY glitter roses, it’s a hot topic. Plus, a TikTok post about making glitter roses got 1,888 likes, so they are super popular right now and lucky for us this is an easy craft for us to do with just a few items.
This post contains affiliate links. For more information please see my Affiliate Disclosure Page.
Getting Started with Your DIY Glitter Rose Bouquet
To start making your craft glitter floral display, you’ll need some basic things. Tamara L’s video on Lemon8 lists these as glitter, adhesive spray, flower wrapping paper, and artificial flowers. Having everything ready before you begin makes the process easier and more fun.
When you’re making your do-it-yourself sparkle bouquet, make sure your workspace is set up right. This helps avoid messes and accidents. Wear gloves and work in a place with good air flow to stay safe from the spray and glitter. With these steps, you’re all set to create your beautiful rose bouquet tutorial.
Here’s what you’ll need:
- Glitter
- Adhesive spray
- Flower wrapping paper
- Artificial flowers or real flowers
Choosing the Perfect Roses for Your Project
Creating a beautiful homemade glitter roses arrangement starts with picking the right roses. You can pick real or artificial ones, based on what you like. If you choose real roses, pick fresh and high-quality ones. For artificial roses, there are many colors and styles to choose from.
Think about the theme and colors of your glitter flower craft project when picking roses. Stick to three colors, not counting green as a neutral. Using an odd number of “thrillers” (up to five) can make your arrangement more interesting.
Popular roses for homemade glitter roses include hybrid tea, peony, and garden roses. Try different colors and mixes to make your arrangement stand out. Most importantly, have fun and be creative with your glitter flower craft project!
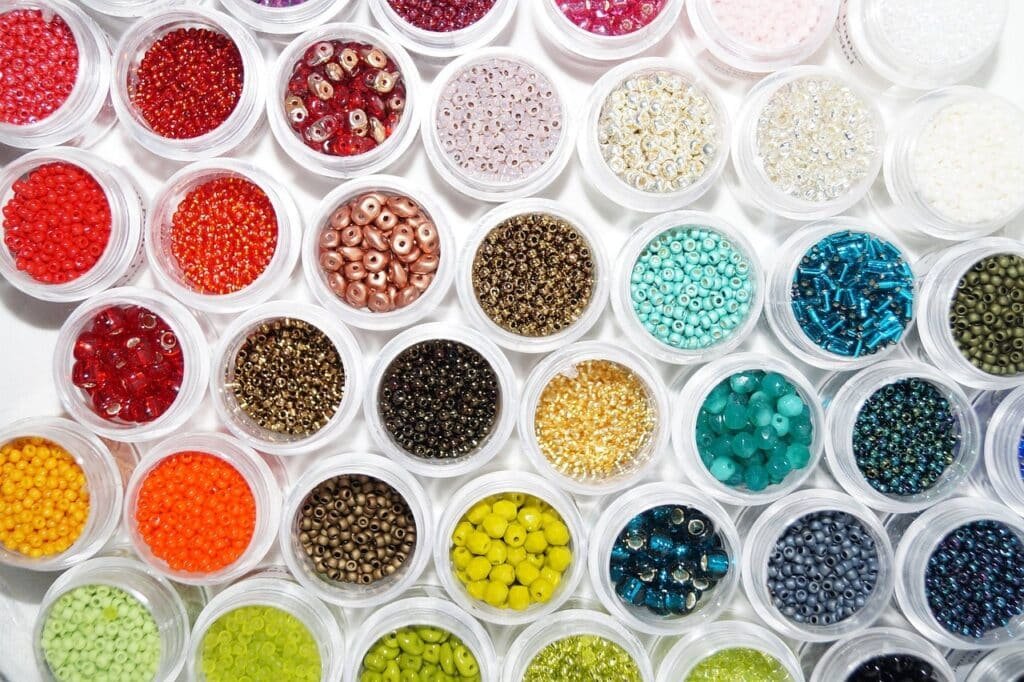
Essential Glitter Types and Colors for Stunning Results
Creating a stunning DIY glitter rose bouquet depends on the glitter type and color. The right glitter can make your handmade rose centerpiece stand out. We’ll look at different glitter types and colors to help you impress everyone.
Glitter comes in many forms, like fine and chunky, and in metallic and iridescent colors. Fine glitter adds a subtle elegance, while chunky glitter makes a bold statement. Metallic glitter brings luxury, and iridescent glitter adds shimmer.
Fine vs. Chunky Glitter Options
Choosing between fine and chunky glitter depends on your desired look. Fine glitter is perfect for a delicate, romantic feel. Chunky glitter adds a fun, playful vibe. Mixing different glitter types can create a unique look.
Color Combinations That Pop
Color choices for your glitter rose bouquet are endless. You can go for classic red and pink or try bold colors like purple and blue. Think about the occasion and your arrangement’s theme when picking colors. Don’t be afraid to try new combinations.
By picking the right glitter type and color, you can make a stunning centerpiece. With creativity and experimentation, your DIY project will surely impress.
Preparing Your Roses for Glitter Application
Now that you have your beautiful roses, it’s time to get them ready for glitter.
Clean the roses and use a clean cloth or paper towels to pat them dry. Once they’re dry, you’re ready for the next step. Here are some tips to remember:
- Handle the roses with care to avoid damaging the petals
- Use a gentle cleaning solution if necessary
- Make sure the roses are completely dry before applying glitter

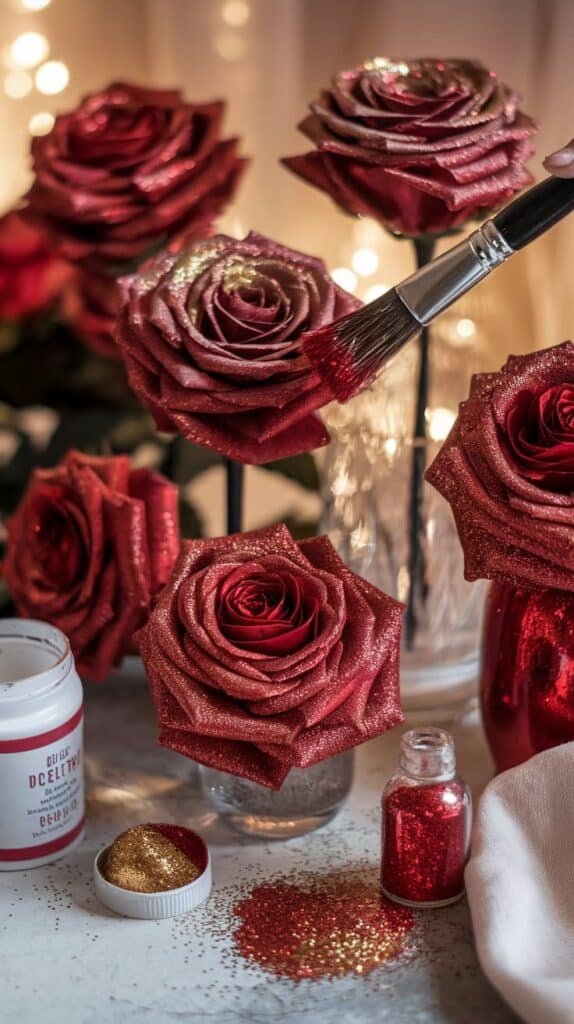
Step-by-Step Glitter Application Techniques
Applying glitter to your roses involves several steps.
To start, you’ll need to apply an adhesive to the roses. This will help the glitter adhere evenly and prevent it from falling off. Next, you’ll distribute the glitter using one of several methods, such as sprinkling or using a brush. Don’t worry if it gets a bit messy – that’s all part of the fun!
Glitter Distribution Methods
There are a few ways to distribute glitter, including:
- Sprinkling: simply sprinkle the glitter over your roses for a random, playful effect
- Brushing: use a small brush to apply the glitter in a more controlled manner
- Dusting: use a dusting brush or a small powder puff to apply a light layer of glitter
Remember to work in a well-ventilated area and use a surface that can be easily cleaned.
Sealing Your Work
Once you’ve applied the glitter, you’ll need to seal it to prevent it from falling off. You can use a clear varnish or a special sealant designed for glitter. Apply a thin layer, making sure to cover all surfaces evenly.
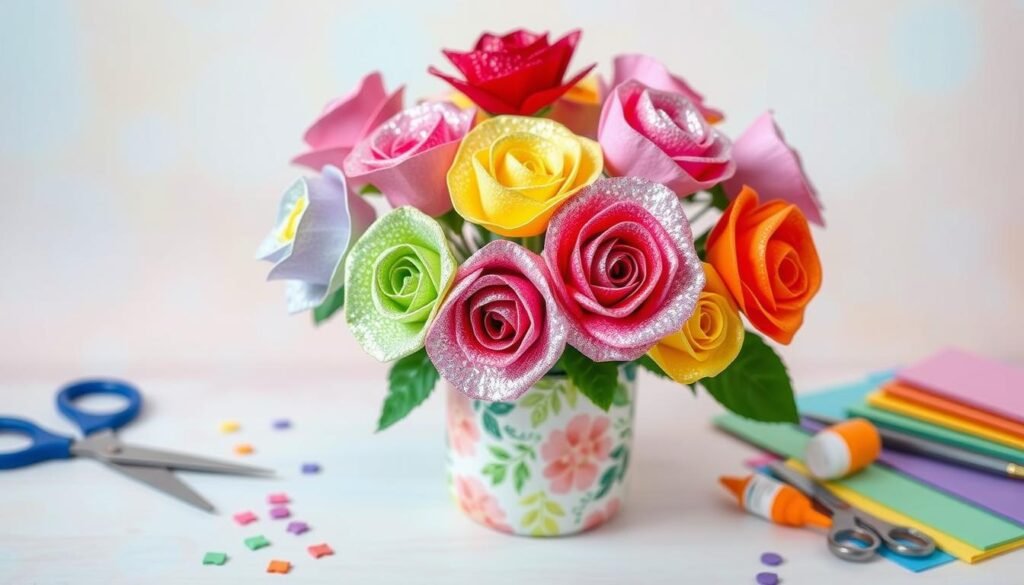
Creating the Perfect Bouquet Arrangement
Now that you’ve added glitter to your roses, it’s time to arrange them perfectly. You want your homemade glitter roses to stand out. With a few simple steps, you can make a stunning bouquet that will wow everyone. Creating a beautiful bouquet is all about balance and harmony. You need the right mix of flowers, foliage, and decorations for a great look.
- Choose a mix of flower sizes and shapes to add depth and interest to your bouquet.
- Consider adding some greenery, like eucalyptus or ferns, to add texture and contrast.
- Don’t forget to leave some space between the flowers to create a natural, effortless look.
- Add ribbon and Baby’s Breath in the roses.
Troubleshooting Common Issues
When making your diy glitter rose bouquet, you might face some common problems. Uneven glitter distribution is a big one. It can make your glitter flower arrangement look messy.
To fix this, apply the glitter lightly and evenly. Use a small brush to remove extra glitter. Another issue is rose damage from handling them too roughly or using the wrong glue.
Here are some common issues and solutions:
- Wilting or floppy petals: use floral wire for support
- Torn petals: handle roses gently and use sharp scissors
- Weak stems: use floral tape for strength
- Detached rose heads: use strong adhesive to keep them on
Storage and Care Tips for Your Glitter Rose Bouquet
You’ve put a lot of effort into your do-it-yourself sparkle bouquet. With the right care, it can last a long time.
Here are some tips for storing and caring for your glitter rose bouquet:
- Gently dust the bouquet with a soft brush to remove any loose glitter or debris.
- Avoid submerging the glittered petals in water, as this can cause the glitter to fade or clump.
- Refresh the water in the vase every 2-3 days to maintain freshness, and re-trim the stems at a 45-degree angle to maximize water absorption.
- Remove any submerged leaves to prevent bacterial growth, which can shorten the roses’ lifespan.
By following these simple care and storage tips, you can enjoy your craft glitter floral display for a long time. Remember to handle your do-it-yourself sparkle bouquet with care. It will remain a beautiful centerpiece for any occasion.

With proper care and storage, your glitter rose bouquet can be a stunning addition to any room. Its beauty will be preserved for a long time.
Creative Variations and Theme Ideas
Now that you know how to make a DIY glitter rose bouquet, it’s time to get creative! You can make homemade glitter roses for many occasions, like Valentine’s Day or weddings. Let’s look at some fun theme ideas for your glitter flower craft project.
Here are a few ideas to get you started:
- Valentine’s Day: Create a bouquet with red and pink homemade glitter roses for a romantic touch.
- Wedding theme: Use white and cream-colored glitter flower craft project to create a beautiful and elegant bouquet.
- Spring theme: Make a bouquet with pastel-colored homemade glitter roses to welcome the new season.
This should be all you need to create your own glitter roses. Remember to have fun and enjoy showing off your creation!