Skip to content
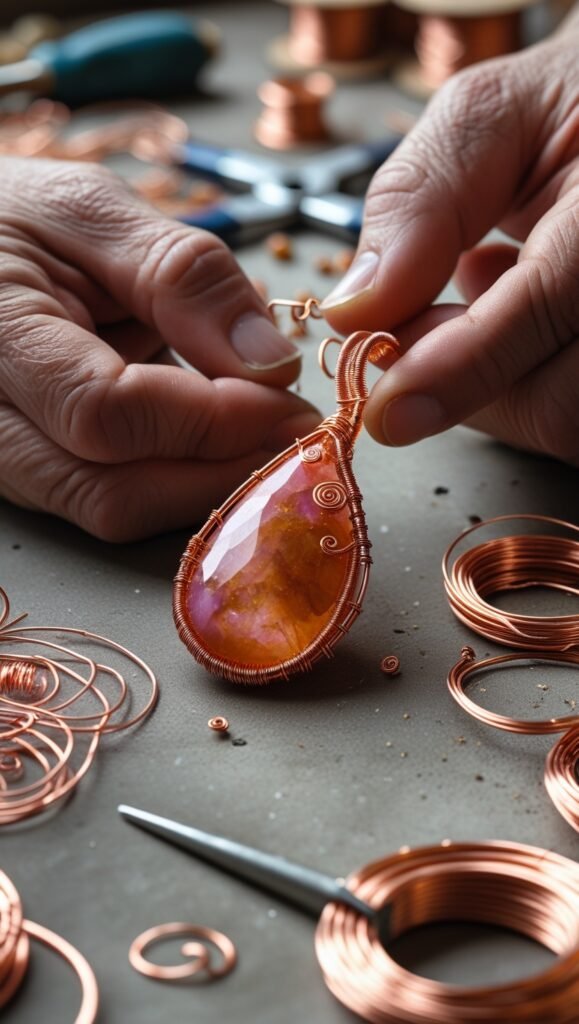
Ready to start creating your own wire wrapping jewelry? Wire wrapping is a fun way to make unique jewelry. You can create stunning pieces that show off your style.
When starting, you need to know the basics. I’m giving you the beginner friendly guide to everything you need to know to start creating your own pieces. You will learn about wire types, tools, basic techniques, and materials.
This post contains affiliate links, meaning I may earn a small commission if you make a purchase through these links at no extra cost to you. I only recommend products and resources I genuinely love and think will be helpful. For more information please see my Affiliate Disclosure Page.
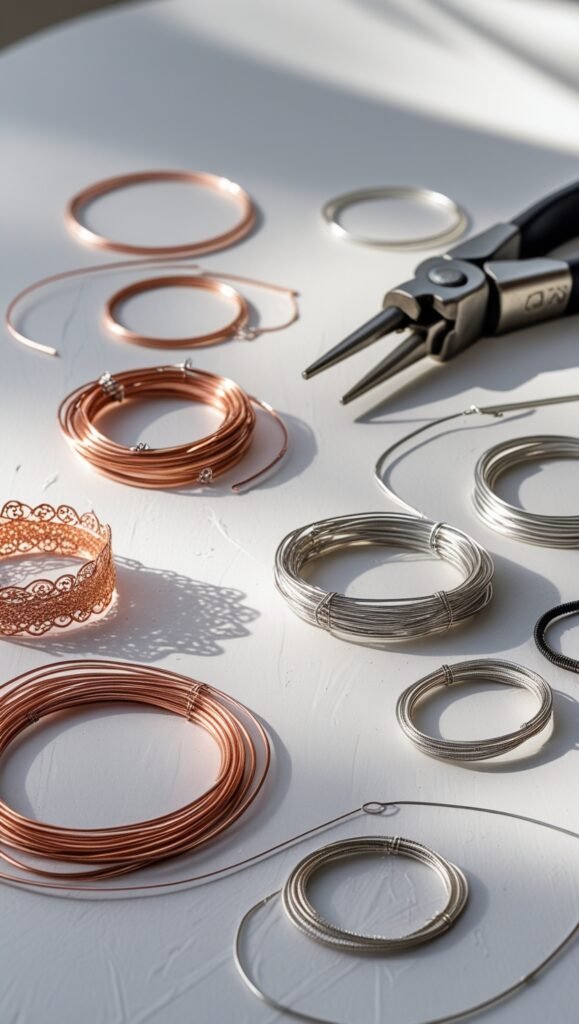
Essential Tools for Wire Wrapping
Wire wrapping techniques need the right tools for beautiful designs. As a beginner, investing in key tools is important. With the right tools, you can make stunning wire wrap jewelry for gifts or yourself. You don’t need to spend a lot of money on the tools you need which makes this a great craft to experiment with without breaking the bank.
Here are a few essentials to get you started:
- Round-nose pliers: These are perfect for creating loops and curves in your wire wrap jewelry making for beginners projects.
- Chain-nose pliers: These are great for bending and shaping wire, and are a must-have for any wire wrapping techniques.
- Flush cutters: These are used to cut the wire, leaving a clean and flat edge that’s perfect for wire wrap jewelry making.
By investing in these essential tools, you’ll be well on your way to creating beautiful and intricately designed wire wrap jewelry.
Choosing the Right Wire Materials
Creating beautiful wire wrapped jewelry starts with the right wire. You need a wire that looks good and lasts a long time. With many options, picking the right one can be tough. We’ll look at copper, silver, and gold-filled wire, and give tips for your projects.
Thicker wire is good for the base, while thinner wire works for details.
Think about the metal type too. Copper, silver, and gold-filled wire each have their own benefits. Copper is cheap and easy to use. Silver is pricier but looks elegant. Gold-filled wire offers luxury at a lower cost.
Wire hardness matters too. Dead soft wire bends easily, while half hard wire keeps its shape. Full hard wire is the stiffest and best for strong parts. Knowing about wire types helps you make lasting, stylish jewelry.
Learning what types of wire you will need will come with practice and playing around with different types. There is an endless amount of designs you can create which is why I love wire wrapping so much.


Basic Wire Manipulation Techniques
Now on to learning about wire gauges. The American Wire Gauge (AWG) system has sizes from 16 to 28. For example, AWG 16 is 1.3mm, and AWG 28 is 0.32mm. Use a wire gauge chart to pick the right size for your project.
Here are some basic wire techniques to start with:
- Bending: Use round-nosed pliers to bend the wire into the desired shape.
- Shaping: Use flat-nosed pliers to shape the wire into detailed designs.
- Coiling: Use a coiling tool or a mandrel to make coils and spirals.
Be firm with the wire but gentle with the pliers. This way, you avoid damaging the wire.
| Wire Gauge | Diameter (mm) |
|---|---|
| AWG 16 | 1.3 |
| AWG 18 | 1.02 |
| AWG 20 | 0.81 |
| AWG 22 | 0.64 |
| AWG 24 | 0.5 |
| AWG 26 | 0.405 |
| AWG 28 | 0.32 |
Fundamental Wire Wrapping Patterns
Learning fundamental patterns can be helpful for beginners in wire wrap jewelry making. With the right tools, you can craft stunning designs. The simple loop is a must-learn for making earrings, links, and basic pendants.
To start wire wrapping, focus on making simple loops and coils.
Here are some tips to remember:
- Choose the right wire gauge for your project – 20-22 gauge is best for main parts, while 24-26 gauge works well for wrapping.
- Keep your wire straight to avoid kinks, which can weaken it and cause breaks.
- Practice making consistent loops and coils for a professional look.
Simple Loops and Coils
Simple loops and coils are the foundation of wire wrap jewelry making. Mastering these patterns lets you create a variety of designs, from simple earrings to complex pendants. With copper or silver wire, you can try different techniques and make unique pieces.
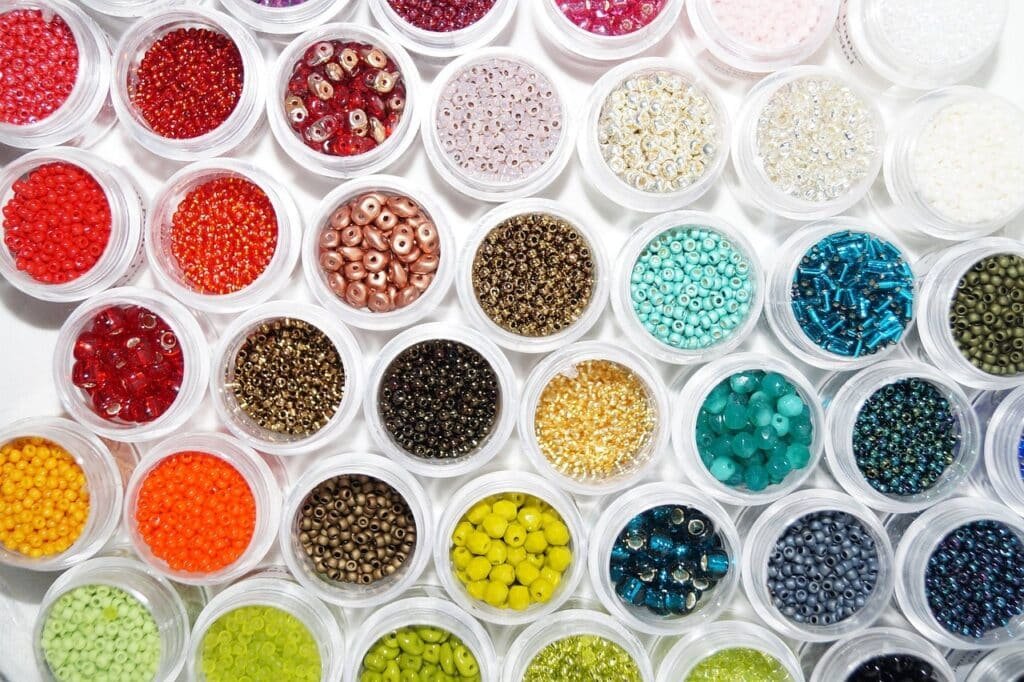
Working with Gemstones and Beads
Working with gemstones and beads requires the right tools. You’ll need pliers like round nose, needle nose, and flat nose.
Also, wire wrap tutorials are essential to learn the process. With the right tools and tutorials, you can make beautiful wire wrapped jewelry.
For gemstones and beads, use wire gauges like 20 and 22. These are perfect for wrapping and making ear wires. For weaving and crocheting, try 26 and 28 gauge. Dead soft wire is great for beginners because it’s easy to shape.
Here are some tips for working with gemstones and beads:
- Choose the right wire gauge for your project
- Use the right pliers to shape and form your wire
- Follow wire wrap tutorials to learn new techniques
- Practice, practice, practice to get the hang of it!


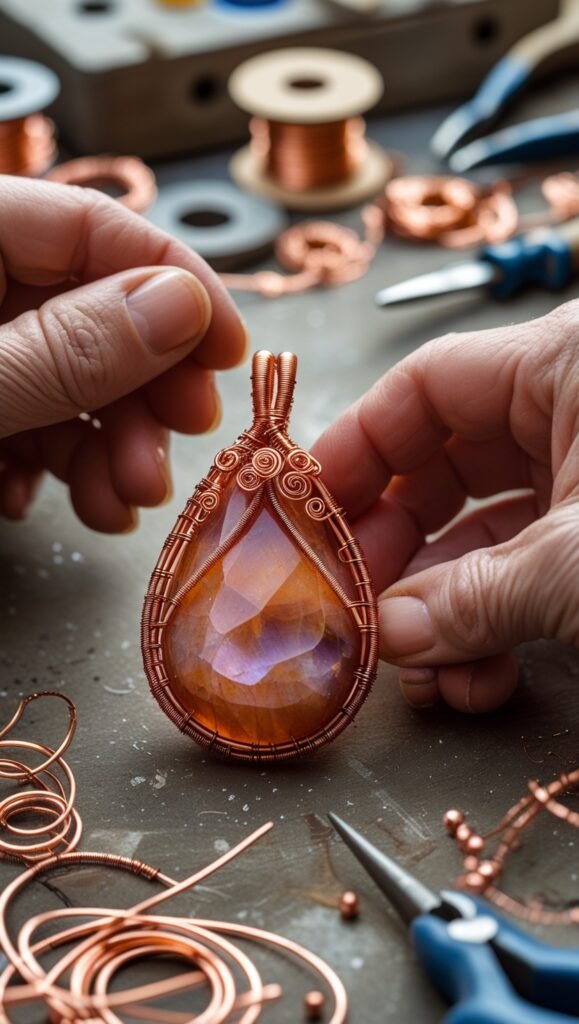
Creating Your First Wire Wrapped Pendant
Now you’re ready to make your first wire wrapped pendant! I’m thrilled for you to start this project. You’ll need wire, a cabochon, and some tools. Don’t worry if you’re new; I’ve got simple patterns to help you.
Materials and Tools Needed
- Wire: 20 or 22 gauge (copper is great for beginners)
- Round-nose pliers: For making loops and curves
- Chain-nose pliers: For gripping and shaping wire
- Flush cutters: To cut the wire cleanly
- Cabochon or gemstone: Choose a flat-backed stone for easier wrapping
- Optional: 26-gauge wire for extra wrapping details
Step-By-Step Instructions
- Measure and cut about 12-14 inches of wire if wrapping a small stone (around 1 inch). If using a larger stone, go for 18 inches.
- Fold the wire in half to find the center. Place your stone in the middle, making sure both sides of the wire are even.
- Hold the stone and bend both ends of the wire upward so they meet at the top of the stone. This creates a frame around your gemstone.
- Hold both ends of the wire together at the top of the stone and twist them 1-2 times to create a tight loop. This helps hold the stone in place.
- Create a Bail-Use your round-nose pliers to bend the twisted wire into a small loop.
- Wrap the remaining wire around the base of the loop 2-3 times to secure it.
- Trim any excess wire with flush cutters.
- Add Decorative Wire Wrapping (Optional) For a more artistic look, take a thinner wire (26 gauge) and wrap it around the main frame, adding swirls or extra security to hold the stone in place.
- Use chain-nose pliers to gently tighten any loose sections and adjust the wire so the stone sits securely.
- Smooth out any rough edges using a jewelry file or by gently pressing down sharp ends with your pliers.
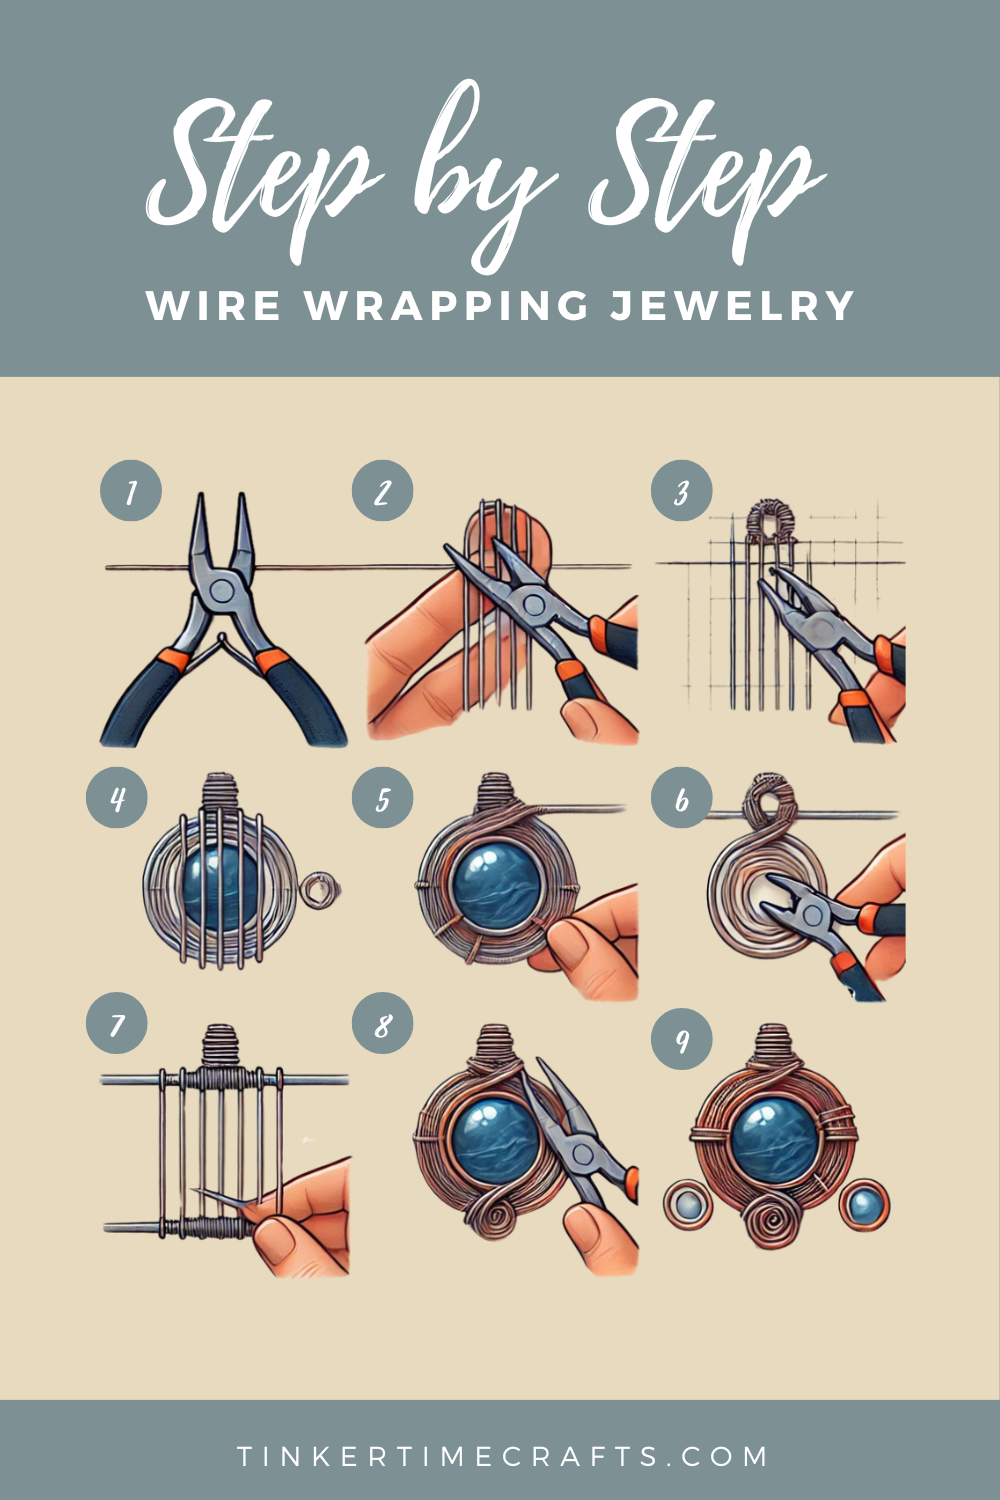
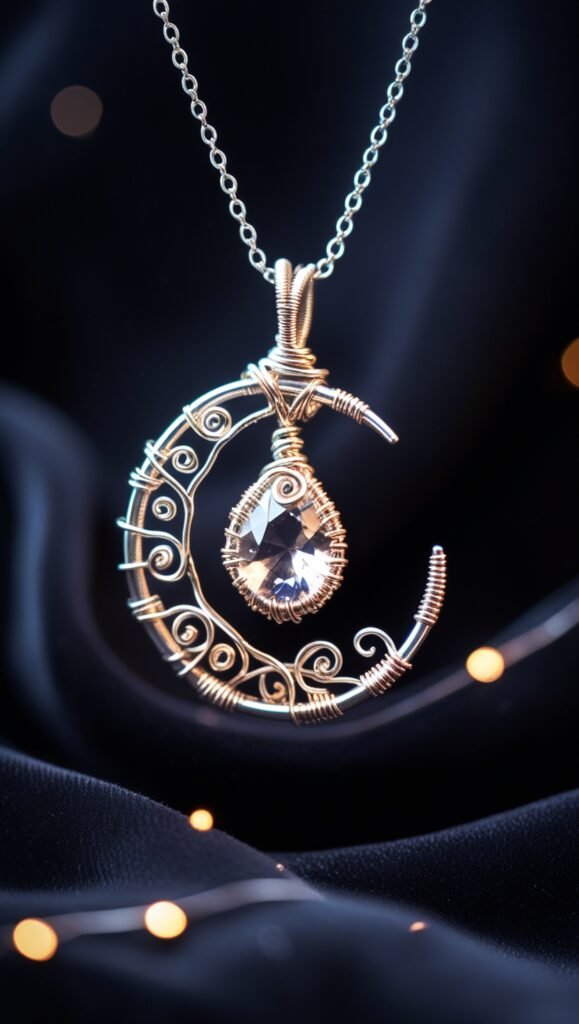
Your first wire-wrapped pendant is now ready! Add it to a chain or cord and enjoy your handmade jewelry!
Finishing Techniques
After wrapping, add finishing touches to your pendant. You can add a bail, rosettes, or beads for extra flair. Keep it simple for now. With these patterns, you’ll make beautiful pendants quickly!
Popular designs include using copper, sterling silver, or gold-filled wire. Try different wire gauges and tempers for unique textures. Most importantly, have fun and be creative!
Common Mistakes and Troubleshooting
Now let’s go over a few common mistakes and how to fix them.
Use the right wire gauge and keep tension even to avoid your loops coming out uneven.
Attaching gemstones or beads can also be tricky. Wrap the wire around them several times for a tight fit. Remember, practice makes perfect, so be patient.
Don’t worry if your first projects don’t look right. Wire wrapping is an art that takes time to learn. With each piece, you’ll get better and find your style.
Enjoy the journey of making unique jewelry.