Skip to content
 Ready to dive into the world of DIY rubber stamp carving? I’m so excited to share my journey with you! From my first hilarious attempt (think elephant-turned-phallic disaster 😅) to creating professional-looking rubber stamps diy, I’ve learned a lot. Today, we’re going to explore how to make your own custom stamp design at home. It’s easier than you think, and I’ll guide you through every step. Get ready to unleash your creativity and add a personal touch to your projects!
This post contains affiliate links. To learn more, please read my affiliate disclosure page.
Understanding the Basics of Rubber Stamp Making
Start your creative journey in DIY rubber stamp making! It’s fun for both experienced crafters and newcomers. Learning the basics is key to making unique stamps that enhance your projects. Let’s look at the main parts of this exciting craft.
Essential Tools and Equipment
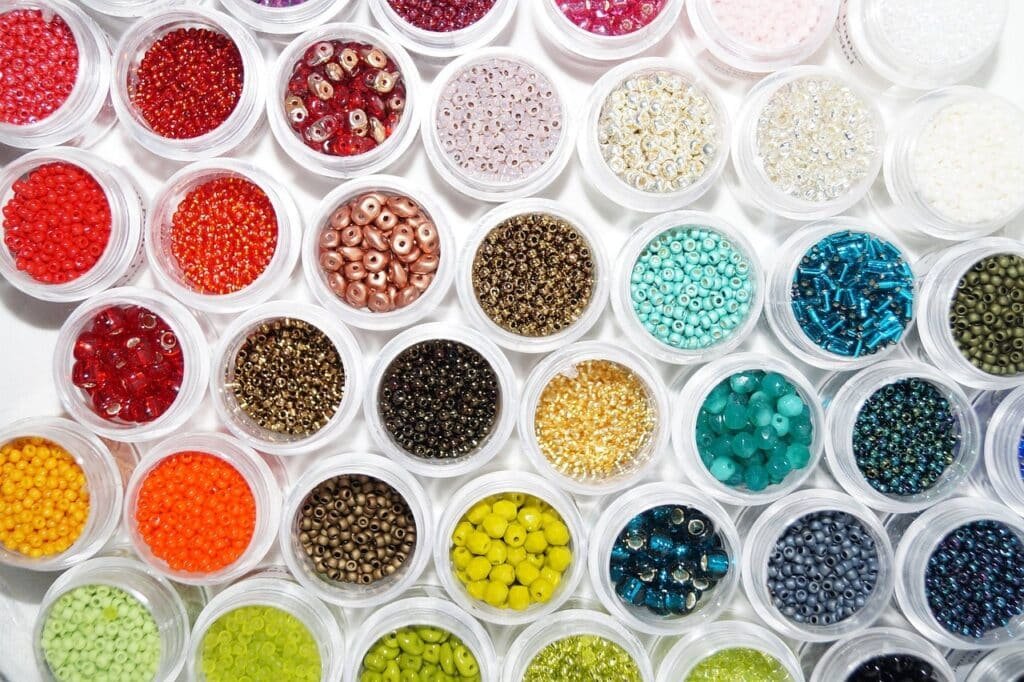
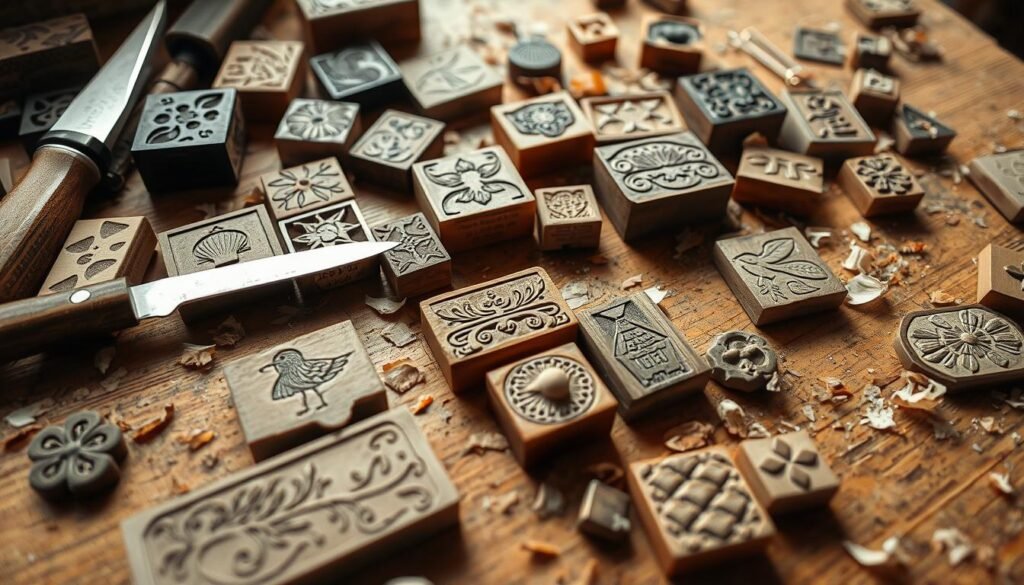
The material you pick for your stamps is crucial. You can choose from Speedy Carve and other carving rubbers. Each has its own feel and look. Try out different materials to see which one works best for you. I got the starter Speedy Carve Kit months ago and I still. have plenty of the rubber material to use and I have created about 15 stamps already. It also comes with different attachments so you can carve out your design easily.
List of Rubber Stamp Supplies
- Carving Rubber: This is the material you’ll use to create your custom stamp design. Look for high-quality carving rubber that’s easy to work with.
- Carving Tools: Invest in a set of carving tools with various blades to help you precisely cut and shape your stamp design.
- Pencil and Eraser: You’ll need a pencil to sketch out your design ideas and an eraser to make any necessary corrections.
- Plain White Paper: This will serve as your template for transferring your design to the carving rubber.
- Stamp Pad: Choose a stamp pad in your desired ink color to make a crisp, clear impression.
- Craft Knife: A sharp craft knife will be useful for trimming and cleaning up your carved stamp.
- Ruler: Keep your lines and measurements precise with a reliable ruler.
- Wooden Block: Optionally, you can mount your carved stamp on a wooden block for added stability and ease of use.
- Strong Adhesive: If you choose to mount your stamp, you’ll need a reliable adhesive to secure it to the wooden block.
Safety Considerations
Always keep safety in mind when carving stamps. Cut away from your body and make shallow cuts for better control. Wear protective gloves to stay safe. This way, you can enjoy making your stamps without worries.
Now, you’re ready to make your own custom rubber stamps! Next, we’ll talk about why making your own stamps is great and show you how to do it step by step.
Benefits of Creating Your Own Custom Stamps
Making your own rubber stamps is a big deal! It lets you create designs that show off your style. Custom stamps are great for adding a personal touch to your projects, creating cards, like mail, scrapbooking, and home decor.
The main reason I looked into creating my own stamps was the cost of stamps. It’s crazy! For one small stamp you are paying at least 10 bucks. I wanted to have more than one stamp so I needed to look into an alternative and I found this method.
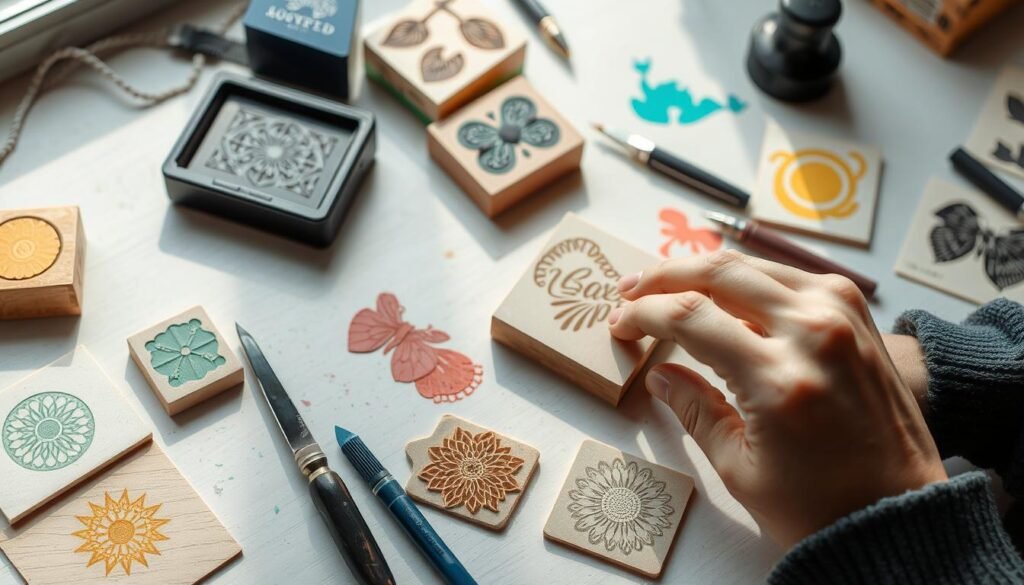
How to Make your own Custom rubber stamps
Start with a simple yet eye-catching design. For beginners, try a general shape or a star or something simple. This will allow you time to get framiliar with how the tools work and the amount of pressure you need to apply.
I found it easier to start with the smallest tool and get around the edges of my design first and then go back with a larger tool to get the outer areas carved out. Using the larger tool to start always ends with me accidentally getting part of my design caught in the carving action and then Im back at square one.
Selecting the Right Design
When choosing your design, keep it simple and bold. Intricate patterns or tiny details won’t work well on your rubber stamp. Opt for clean lines, basic shapes, and text that’s easy to read. Remember, the final impression will be a mirror image of your original design, so plan ahead.
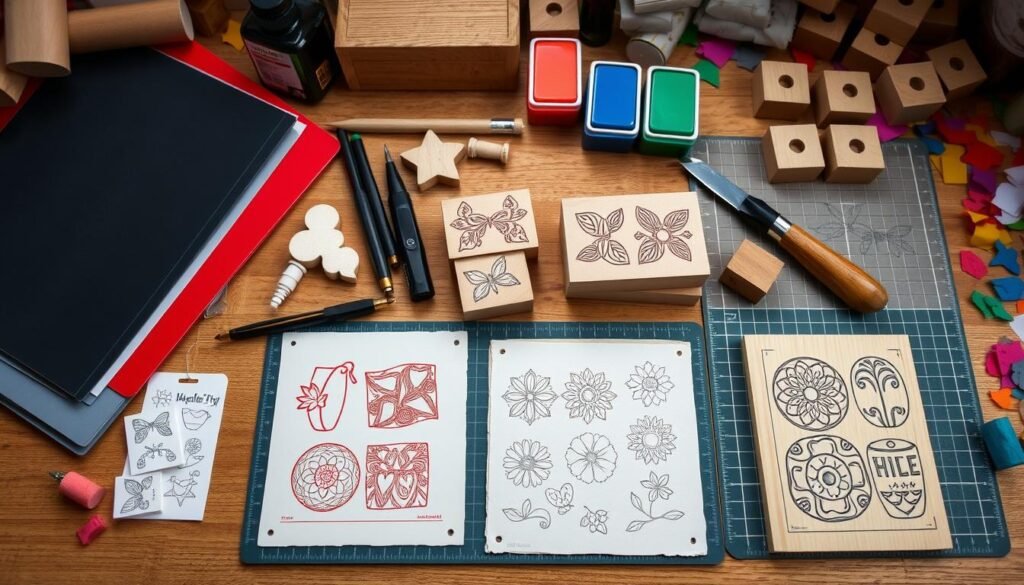
Transfer Methods
To transfer your design, print it on a laser printer and place the paper ink-side down onto the carving rubber. Cover with a thin cloth and apply heat with an iron for 30-60 seconds. Slowly peel away the paper to reveal your transferred design. The image will stamp exactly as you laid it out, so no need to mirror it!
With the right materials and a little practice, you can create custom rubber stamps for all your DIY projects. From handmade cards to personalized packaging, have fun and let your creativity shine!
Carving Techniques for Perfect Results
Creating your own custom rubber stamps is all about the carving. Start with a #1 blade to lightly draw your design. Then, use a #5 blade for the bigger parts. Always carve away from you and keep the blade at less than 45 degrees for control.
Carve smoothly by rotating the stamp, not the tool. Take your time to avoid mistakes. Focus on removing the negative space to reveal your design.
- Use a #1 blade to outline your design
- Switch to a #5 blade for larger areas
- Carve away from your body at less than 45 degrees
- Rotate the rubber, not the tool, for curves
- Make shallow, gradual cuts for better control
With practice, you’ll master stamp carving techniques and rubber stamp carving. Enjoy the process, focusing on your design. It’s a fun way to bring your ideas to life.
After carving, test your stamp with different paints or inks. Try printmaking inks, acrylic, or fabric paints. Use scrap paper first, then add your custom touches to projects and gifts.
Mounting Your Rubber Stamps
Making your own rubber stamps is fun and rewarding. But the real magic is in mounting them right. It gives your stamps a pro look and makes them easier to use. Whether for your Etsy shop or just for fun, taking the time to mount them well will elevate your creations.
Handle Options and Materials
Wooden blocks or discs are great for handles. Cut your rubber to fit, then glue it on with strong adhesives like super glue or E6000. For a quick fix, use wine corks or large bottle caps. Tip: stamp the block before gluing to mark it.
Adhesive Selection Guide
- Super Glue: An ultra-strong, fast-drying adhesive that bonds rubber to wood or plastic.
- E6000 Craft Adhesive: A flexible, permanent glue that works well for attaching rubber to various materials.
- Epoxy Resin: An incredibly strong two-part adhesive that creates a durable bond, great for heavier duty stamps.
Choosing the right mounting method is key. You want a strong, lasting bond between the stamp and handle. With the right materials and care, you can make stamps that are a pleasure to use.
Creative Ideas for Custom Stamp Projects
Custom rubber stamping projects offer endless possibilities. You can make personalized stationery, add flair to your journal, or create custom tags for gifts. Rubber stamps are perfect for these tasks.
Try stamping on wood, clay, or even walls for amazing results. For a cheap option, use items like bottle caps or foam shapes on wooden blocks. They’re great for kids’ projects!
- Stamp custom address labels or monograms on muslin favor bags for a personalized touch
- Use rubber stamps to add your logo or branding to packaging for your handmade products
- Craft custom wedding elements like monograms, dates, and names on invitations and decor
Rubber stamping is incredibly versatile. Let your creativity soar and enjoy making your own rubber stamping projectsand homemade rubber stamp ideas!
Troubleshooting Common Stamp Making Problems
Don’t worry if things don’t go perfectly at first – we all make mistakes! If you encounter any issues during the stamp-making process, try these troubleshooting tips to get you back on track.
Fixing Carving Mistakes
Oops, carved a little too deep? No problem! Simply fill the area with a small piece of rubber and re-carve the design. This allows you to preserve the original stamp and make any necessary adjustments. Remember, practice makes perfect, and even “mistakes” can lead to interesting, unique designs!
Handling Material Issues
If your stamp isn’t picking up ink evenly, check to make sure the rubber surface is level. You can also try cleaning the stamp thoroughly and ensuring you’re using the right type of ink for your material. For example, water-based inks work best on traditional rubber, while solvent-based inks are better suited for polymer stamps.
There you go! You now know everything to get started creating your own rubber stamps at home so you can personalize all your crafts. Happy stamping!