 Skip to content
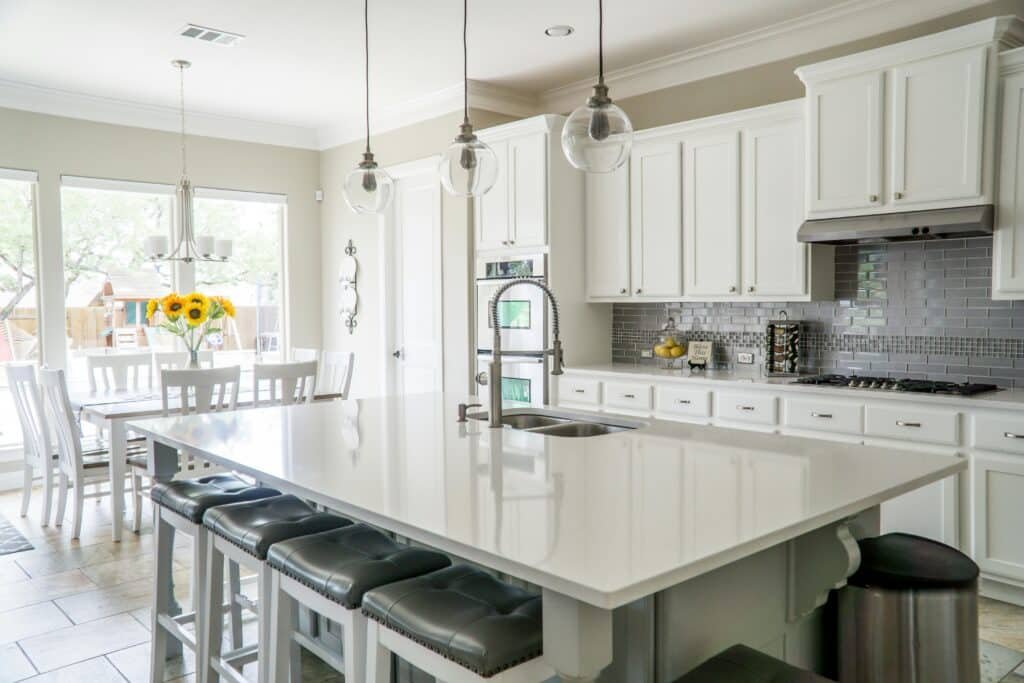
DIY Kitchen Cabinet Update: Transform Your Space
Updating your kitchen cabinets doesn’t mean you have to replace them all. There are many ways to make your cabinets look new again without spending a lot. You can paint them, try out faux finishes, or even refinish them yourself.
This guide will show you how to update your kitchen cabinets on a budget. Whether you want a simple paint job or a more detailed makeover, we’ve got you covered.
There are lots of ways to update your kitchen cabinets. You can add pull-out shelves, undercabinet lighting, or even build custom pieces like butcher block islands. With a bit of creativity and hard work, you can make your kitchen look brand new.
Ready to start your DIY kitchen cabinet makeover? Let’s get started!
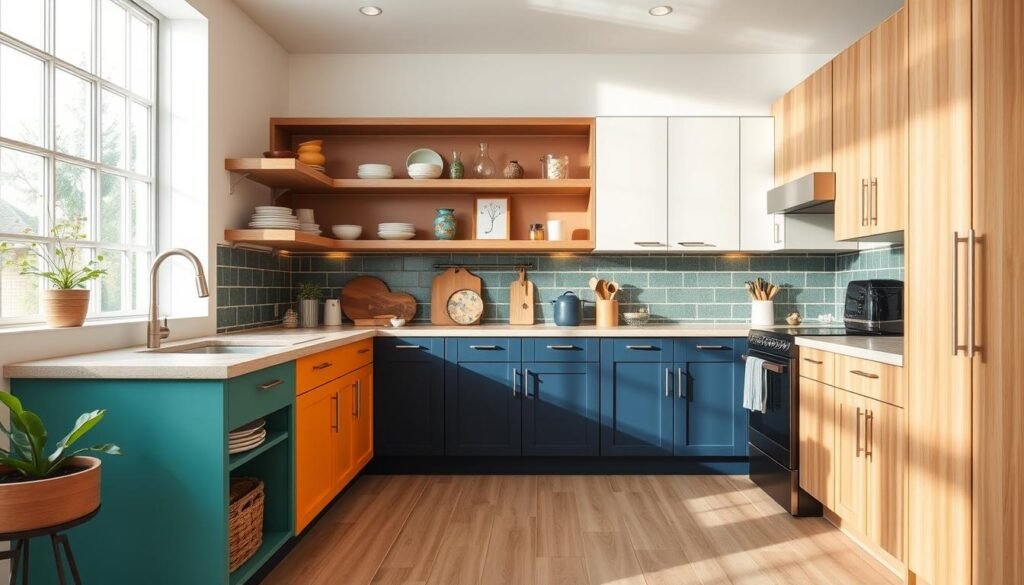
Painting Kitchen Cabinets
Painting your kitchen cabinets can change everything. It’s a simple DIY project that can make your kitchen look new without spending a lot. Cabinet painting techniques can go from simple solid colors to fancy faux finish designs that add depth and character.
Faux Finish Techniques
There are many faux finish cabinet painting methods to make your cabinets stand out. Here are some favorites:
- Distressed cabinet finishes – This method makes your cabinets look old and worn on purpose.
- Crackle cabinet finishes – It creates a weathered look, like something from an antique.
- Antique cabinet finishes – You can get a vintage look by layering and glazing.
- High gloss cabinet finishes – A shiny finish adds elegance to your cabinets.
With the right tools, patience, and creativity, you can turn your kitchen cabinets into a stunning focal point. Cabinet refinishing techniques make it possible.
Refacing Kitchen Cabinets
Refacing your kitchen cabinets is a smart choice between painting and replacing them completely. This method adds new veneer to the old cabinets and swaps out the doors and drawer fronts. Refacing can give your kitchen a completely new look without the high cost of new cabinets. First, you remove old doors and hardware. Then, you clean and sand the cabinets. Next, you apply new veneer and install new doors and drawer fronts.
This DIY project takes several days to complete and is considered intermediate in complexity. It costs between $501-1000, which is much less than installing new cabinets. New cabinets can cost up to $50,000 or more.
To reface cabinets, you’ll need a 4-in-1 screwdriver, a brad nail gun, and other tools. The project has 20 steps and requires veneer sheets, which cost about $90 per sheet. Each sheet covers the face frames for about 15 doors.
| Material Needed | Quantity |
|---|---|
| Denatured alcohol | As needed |
| Rags | As needed |
| Medium-grit sanding sponge | 1 |
| Construction adhesive | As needed |
| 3/4-in. brad nails | As needed |
| Stain pen | 1 |
| Colored wood putty | As needed |
Cabinet refacing is a budget-friendly way to update your kitchen. It involves three main steps: removing old doors and drawers, giving the frame a new look with paint or veneer, and adding new doors for a custom look. With the right tools and materials, you can change your kitchen cabinets without the high cost of a full replacement.
Installing Pull-Out Shelves
Make your kitchen better by adding pull-out shelves in your base cabinets. These shelves slide out like drawers, making it easy to reach items at the back. This simple change can really improve your kitchen’s storage.
The shelves are made of a 1×4 pine frame and a 3/4-inch birch plywood bottom. This design is strong and can fit most cabinets, blending well with your kitchen.
Adding pull-out shelves is easy, even for beginners. It only needs basic woodworking skills. This makes it a great DIY project for homeowners.
The cost to install these shelves is between $50 and $90. It takes about 3 to 4 hours to do, so you can enjoy better storage quickly.
Using high-quality materials is key for lasting shelves. Full-extension slides can hold over 100 pounds, and birch plywood is both strong and affordable.
By making your own shelves, you can match them to your kitchen perfectly. This customization makes your storage look great and work better.
| Feature | Specification |
|---|---|
| Skill Level | 1 out of 5 (Basic Woodworking) |
| Cost | $50 – $90 |
| Time to Complete | 3 – 4 hours |
| Weight Capacity | Over 100 pounds |
| Customization | Tailor design, finish, and hardware |
| Material | Birch plywood |
| Tools Required | Power miter saw, cordless circular saw, tape measure, drill/driver, and more |
With the right tools and a bit of DIY effort, you can make your kitchen better. Custom pull-out shelves can change how you store and access your kitchen items. It makes your kitchen more efficient and fun to use.
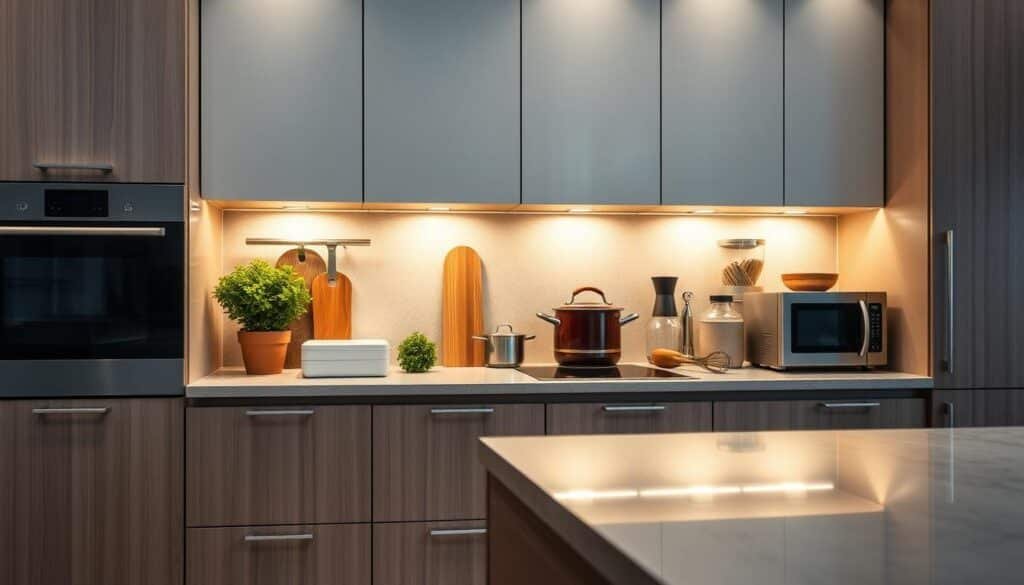
Adding Undercabinet Lighting
If your kitchen feels like it’s missing something, look up. Undercabinet lighting can change everything. It adds essential task lighting to your workspace and improves the room’s feel.
Types of Undercabinet Lighting
For kitchen cabinet lighting, you have many choices:
- LED Lights: LED fixtures are popular for their energy savings and long life. They give a bright, focused light perfect for kitchen task lighting.
- Halogen Lights: Halogen bulbs offer a warm, white light great for cabinet lighting upgrades. But, they can get hotter than other options.
- Fluorescent Lights: Fluorescent fixtures are cheaper than LEDs and light well. Yet, they might hum a bit.
- Xenon Lights: Xenon bulbs cost a bit more than halogen but last longer and are safer to handle.
When picking undercabinet lighting, think about energy use, lifespan, and color temperature. Make sure the dimmer switch works with your LED lights.
Installing undercabinet lighting is easy and can take 2-3 hours. Just follow the instructions and secure everything well for a safe, lasting setup.
| Lighting Type | Cost | Energy Efficiency | Lifespan |
|---|---|---|---|
| LED | $ | High | Long |
| Halogen | $ | Medium | Short |
| Fluorescent | $ | Medium | Medium |
| Xenon | $$ | High | Long |
How to Update Kitchen Cabinets Yourself
Updating your kitchen cabinets yourself can be rewarding and save money. You can refresh your space or do a budget-friendly renovation. There are many DIY options to explore.
Cabinet door replacement is a popular choice. It means swapping out the old doors and drawer fronts for new ones. This changes your kitchen’s look without the cost of new cabinets.
- Start by removing the old cabinet molding to expose the cabinet boxes.
- Consider building boxes to extend the cabinets to the ceiling, creating additional storage space.
- Paint the exterior of the cabinet boxes to give them a fresh, updated look.
- Replace the cabinet doors and drawer fronts with new ones that match your desired style.
- Install new cabinet hardware, such as pulls and knobs, to complete the transformation.
Cabinet refacing is another option. It involves swapping out the doors and drawer fronts but keeps the boxes. This is great for a budget-friendly kitchen renovation without the full replacement hassle.
Choosing to update your kitchen cabinets yourself can be rewarding and cost-effective. With the right tools, materials, and effort, you can give your kitchen a stunning new look.
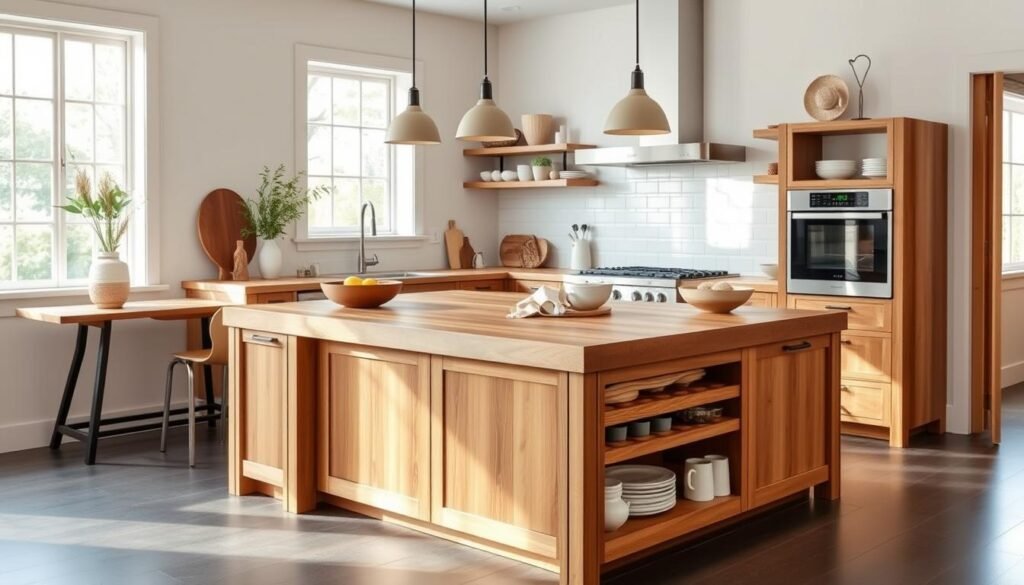
Building a Butcher Block Island
A diy butcher block island can make your kitchen warmer and more functional. It brings a rustic charm that’s perfect for food prep. These islands are durable and versatile, great for prep, dining, or work.
Thinking about a custom kitchen island with a butcher block top? You can build one yourself or pick from pre-made ones. A DIY island is a budget-friendly way to enhance your kitchen’s look and feel.
To make your own diy butcher block island, pick the right wood. Maple, oak, or walnut are good choices for their strength and beauty. The size and thickness should match your kitchen and taste.
After picking your wood, prepare the surface with food-safe oil and board cream. This keeps the wood protected and looking great. Attach the butcher block to wooden blocks on the cabinet legs for a solid base.
Keeping your diy butcher block island in good shape is important. Oil it monthly to keep the wood hydrated and shiny. Clean it with hot, soapy water and dry it with a towel after use.
Building your own diy butcher block island or choosing a pre-made one can transform your kitchen. With the right materials and DIY skills, you can make a beautiful and useful custom kitchen island.
| Feature | Value |
|---|---|
| Butcher Block Cost | $720 |
| Butcher Block Size | 27″ wide by 39.5″ and 1.5″ thick |
| Oiling Frequency | Monthly maintenance |
| Cleaning Method | Hot and soapy water, followed by drying with a towel |
| Total Project Cost | $410 USD |
Creating a Custom Sideboard
Boost your kitchen’s look and storage without spending a lot. Making a diy kitchen sideboard from stock cabinets is a smart move. It fits well in your kitchen or dining area, offering lots of storage and style.
Start by picking unfinished base cabinets that fit your space. Add decorative molding and furniture feet for a nicer look. Then, choose knobs or handles that match your kitchen’s style. Finally, paint or stain it to blend with your custom kitchen storage solutions.
Here’s how to make your own stock cabinet upgrades:
- Choose two 36-inch x 30-inch x 12-inch stock wall cabinets as the base.
- Attach pine boards between the cabinets to create a unified structure.
- Install six furniture legs, securing them with the appropriate hardware.
- Cut and attach 3/4-inch birch plywood for the top and sides.
- Apply edge banding to create a polished look.
- Fill any holes with wood filler and sand the entire piece.
- Paint or stain the sideboard to match your budget-friendly kitchen renovations.
- Install the desired hardware, such as knobs or pulls, for a finishing touch.
By taking on this diy kitchen sideboard project, you can add storage and make your kitchen unique. It’s a cost-effective way to enhance your kitchen with stock cabinets and your creativity.
| Materials Needed | Tools Required |
|---|---|
| 2 Stock Wall Cabinets (36in x 30in x 12in)1 Birch Plywood (3/4in x 4ft x 8ft)1 Pine Board (1in x 3in x 8ft)6 Furniture LegsFurniture Leg Hardware1 1/4in #8 Construction Screws2in Brad Nails | Miter SawTable SawWood GlueWood FillerSanderPaint Sprayer (Optional)Nail GunSafety GlassesDrillIronExtra Fine Finish Saw BladeHardware Install Template |
Adding a Window Seat
Turn your kitchen into a cozy spot with a DIY kitchen window seat. This project uses stock cabinets and bookcases to make a cute seating area. It also has lots of kitchen storage solutions underneath. You can adjust it to fit any window size, making it a great custom kitchen seating choice.
Window Seat Construction
This budget-friendly kitchen renovations project is all about using what you already have. Start with kitchen wall cabinets and bookcase units as the base. Then, add over-the-refrigerator cabinets on top for the seat. Finish it off with crown molding for a neat, finished look.
- 7 stock pantry cabinets were used in the DIY project.
- 4 stock refrigerator cabinets were utilized for the window seat portion.
- 3 stock base cabinets were incorporated into the built-in setup.
- 4 stock cabinet side panels were employed for cabinets with exposed sides.
- 15 2×4 boards were used in the construction process.
- Various pine boards, including 2 1x12x8, 1 1x10x10, 1 1x12x10, 4 1x4x8, and 3 1x8x10, were utilized.
- Different types of screws, such as #8 1 1/2″ cabinet screws and #8 1 5/8″ deck screws, were used.
- Additional materials included wood shims, toe ductors, wood filler, and paintable caulk.
- Tools used for the project encompassed clamps, speed square, tape measure, chalk line, drill and bit set, cordless finish nailer, cordless crown nailer, level, utility knife, miter saw, jigsaw, oscillating multi-tool, and orbital sander.
The end result is a unique diy kitchen window seat that’s both stylish and practical. It boosts your kitchen’s look and storage space.
Installing a Plate Rack
Adding a custom plate rack to your kitchen can make it look better and work better. It shows off your favorite dishes and saves space in your cabinets. With a few easy steps, you can turn a unused spot into a beautiful and useful area.
First, pick the best spot for your plate rack, like above a counter or sink. Measure the area carefully to make sure the rack fits perfectly. Choose a kit that matches your measurements for a secure fit.
- Cabinet doors removed for plate rack installation: 2
- Length of trim used for plate rack: 1 1/8″ x 1 1/2″
- Diameter of dowels used for plate rack: 3/8″
- Hole drilled spacing for dowels: 2″
With your materials ready, follow the kit’s instructions to install. Measure the space to find the best spot for your kitchen plate rack. This way, your dishes will look great.
| Measurement | Value |
|---|---|
| Distance for front rack placement | 1 3/4″ back from the front of the cabinet |
| Distance for second rack placement | 5″ from the back of the cabinet |
| Number of drawer pulls used as feet | 4 |
| Cabinet width used | 20″ |
After installing, arrange your dishes nicely for a good look and function. This cabinet storage solution improves your kitchen’s look and is easy on your wallet.
Conclusion
Updating your diy kitchen cabinet doesn’t have to be expensive. You can try painting, refacing, or adding storage to change your kitchen’s look and feel. These easy kitchen upgrades can make your kitchen look new without the high cost of a full remodel.
There are many ways to update your kitchen cabinets without spending a lot. You can try refacing, upgrading hardware, or changing the lighting. These simple steps can make your kitchen look and feel new again, all while keeping your budget in check.
If you want to diy kitchen cabinet update and make your kitchen look fresh, try these budget-friendly ideas. With a bit of creativity and hard work, you can create a kitchen that’s both beautiful and functional. It will show off your personal style and meet your needs.
Check out the post about DIY Kitchen counter Updates for more ideas about updating your kitchen on a budget!

