Skip to content
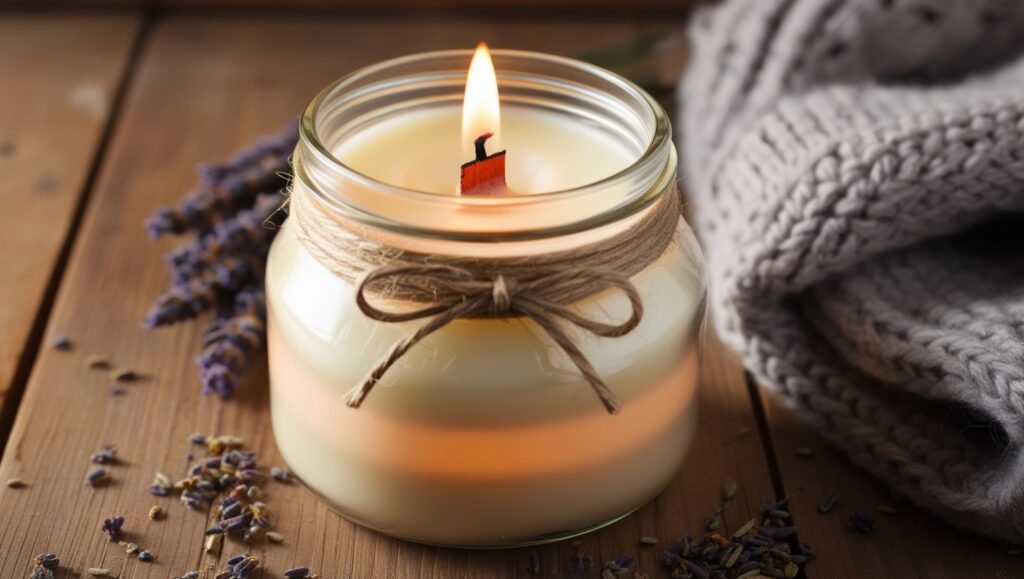
Ready to turn ordinary mason jars into stunning home decor? I have a few super easy and inexpensive DIY mason jar crafts to make your space pop! From rustic lanterns to colorful vases, these projects are budget-friendly and easy to create.
Getting Started with Mason Jar Crafts: Essential Materials and Tools
You can make mason jar gifts or mason jar storage solutions. You really don’t need a ton of supplies to create several different crafts but you will need a few basic supplies.
Basic Supplies Needed
- Mason jars (varying sizes and styles)
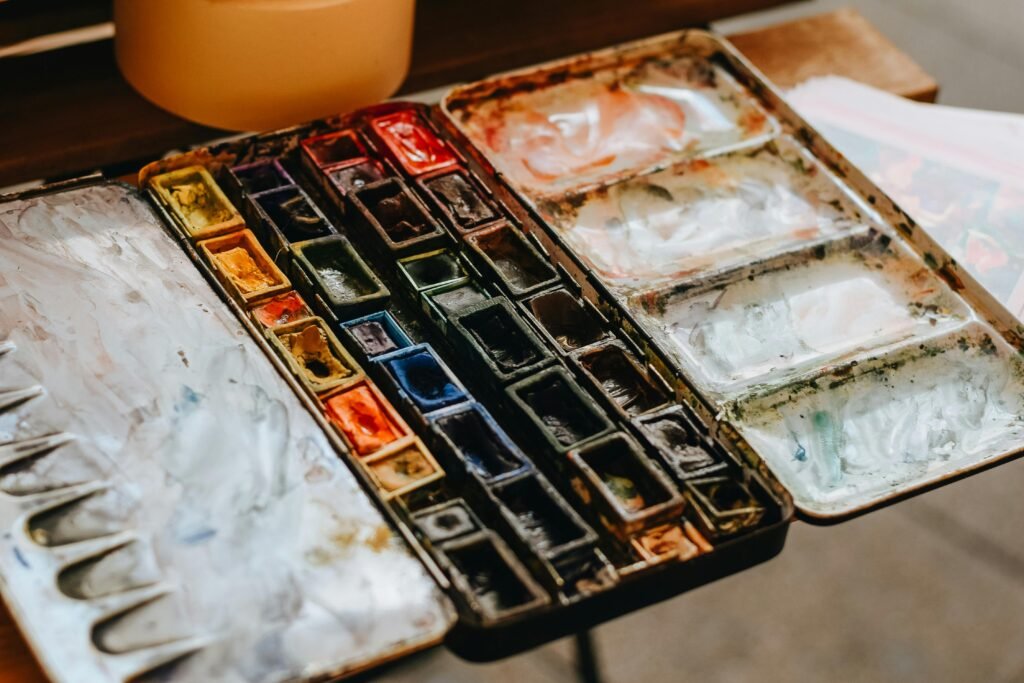
- Acrylic paint or glass paint
- Paintbrushes (assorted shapes and sizes)
- Mod Podge or other decoupage medium
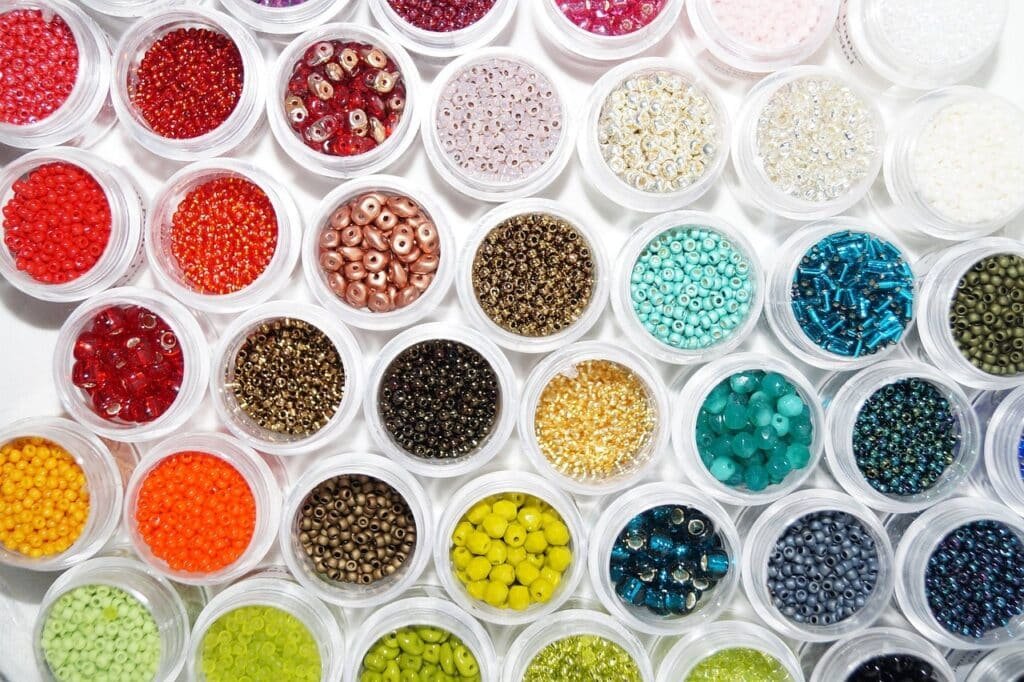
- Decorative elements (ribbons, twine, stickers, etc.)
- Sandpaper (optional for distressed finishes)
- Hot glue gun and glue sticks
Different Types of Mason Jars
Mason jars come in many shapes and sizes. Each offers unique possibilities for your projects. You can choose from classic wide-mouth jars to charming quilted jars. Find the perfect jar for your project, whether it’s rustic or modern.
Safety Tips and Preparation
Always prioritize safety when crafting. Wear protective gloves when handling glass jars. Use caution with hot glue and sharp tools. Cover your workspace to prevent messes. Most importantly, have fun and be creative!
Mason Jar Lighting Projects for Ambient Home Decor
Make your home cozy with DIY mason jar lighting. These projects are great for both indoor and outdoor spaces. Imagine the soft glow of candles or the beautiful light of solar-powered lights. The options are endless.
One favorite project is the mason jar lantern. You can make these in minutes with a few simple items. Clean the jars and decorate them with paint or flowers. Then, add a tea light or LED candle for instant charm. For safety, use battery-operated candles instead of real ones.
Want to make your mason jar lighting even better? Try a photo booth backdrop with mason jars and string lights. Arrange the jars in a cool pattern and add greenery for a stunning photo spot. You can also use cupcake liners as lights by placing them over mason jar lids and adding a tea light.
But there’s more! Make craft paper lanterns from mason jars or create marquee letters lit by mason jars. The possibilities are endless for adding magic to your home.
Let your creativity shine with these DIY mason jar crafts. They’re perfect for cozying up your home or creating an outdoor wonderland. Get ready to enjoy the warm glow of your handmade creations!
DIY Mason Jar Crafts: Seasonal Decorations and Holiday Ideas
Mason jars are great for creating beautiful, personalized decorations for any season or holiday.
Easy Winter Mason Jar Decorations
Creating a DIY Glitter Globe (Mason Jar Snow Globe) is a fun and festive project perfect for decorations or gifts. Here’s a step-by-step guide:
DIY Glitter Globe (Mason Jar Snow Globe)
Materials Needed:
- Mason jar (clear and clean, any size)
- Distilled water (or tap water if distilled is unavailable)
- Glycerin (available at drugstores or online) – optional but recommended for thicker “snowfall”
- Glitter (fine or chunky, depending on your preference)
- Figurines or decorations (plastic or waterproof)
- Epoxy glue or a hot glue gun (waterproof glue works best)
- Optional: Small rocks, pebbles, or fake snow for additional base decor
- Twine, ribbon, or paint for decoration (optional)
Step-by-Step Instructions:
1. Select Your Mason Jar and Figurine
- Choose a jar size appropriate for your decoration. Smaller jars are perfect for compact displays, while larger ones allow for more elaborate designs.
- Pick a waterproof figurine or decoration that fits inside the jar. Think holiday themes (snowmen, Christmas trees), animals, or fun miniatures.
2. Prepare the Base
- Remove the mason jar lid and glue your figurine to the inside of the lid (not the flat sealing part, but the piece that screws on).
- Use epoxy or hot glue to ensure the figurine is securely attached. Let the glue dry completely before proceeding (check the glue packaging for dry time).
3. Add Water and Glycerin
- Fill the jar almost to the top with distilled water.
- Add a few drops of glycerin to the water. Glycerin helps the glitter fall more slowly, mimicking a snow globe effect.
- Stir the mixture gently with a spoon to combine.
4. Add Glitter
- Add about 1-2 teaspoons of glitter to the water (adjust depending on the size of your jar and the desired amount of “snow”).
- Mix gently to disperse the glitter evenly.
5. Secure the Lid
- Once the figurine on the lid is completely dry, screw the lid onto the jar.
- Make sure it is tight to prevent leaks.
- Optionally, seal around the edges of the lid with epoxy glue or waterproof tape for extra security.
6. Decorate the Lid and Jar (Optional)
- Wrap twine, ribbon, or fabric around the jar lid for a decorative touch.
- Paint the outside of the jar lid to match the theme of your globe.
- You can even add a tag or sticker for a personalized message if giving it as a gift.
7. Test and Adjust
- Shake the jar gently to test the glitter and water flow.
- If the glitter doesn’t fall slowly enough, add more glycerin.
- If it’s too thick, dilute with a bit of distilled water.
8. Display or Gift Your Glitter Globe
- Place your globe in a well-lit area to showcase its sparkle.
- If gifting, wrap it carefully to prevent damage or leaks.
Tips for Success:
- Avoid using paper or wood decorations; they may degrade in water. Stick to plastic or ceramic.
- Use fine glitter for a more delicate snow effect or chunky glitter for a bold look.
- If using tap water, boil it first to reduce cloudiness and impurities, then let it cool before using.
- Experiment with different jar sizes to create a collection of snow globes.
This project is a great way to make custom decorations for any occasion or season.
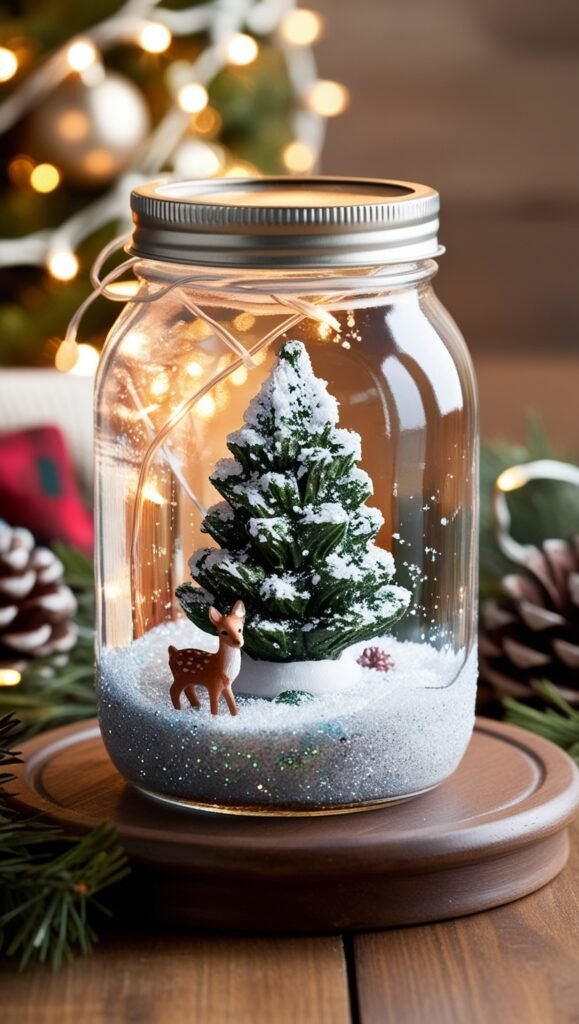
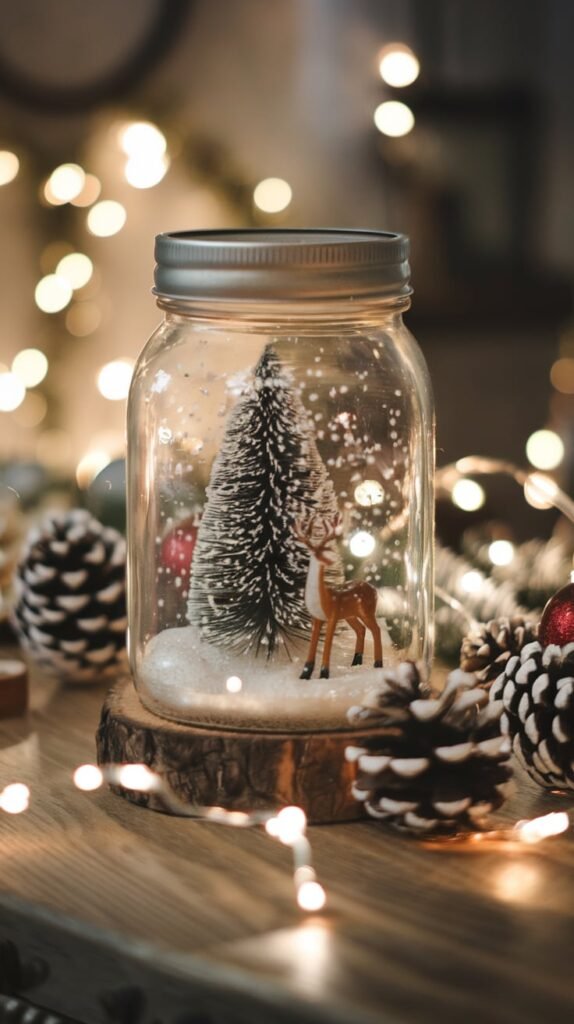
DIY Seasonal Snow Globe Mason Jar
Creating a Seasonal Snow Globe Mason Jar is a wonderful craft for the holidays and other seasonal decorations. Here’s a detailed guide:
Materials Needed:
- Mason jar (any size, depending on your desired look)
- Fake snow (can be found at craft stores or use shredded Styrofoam or white glitter as an alternative)
- Small seasonal figurines or decorations (e.g., trees, reindeer, snowmen)
- Epoxy glue or hot glue (waterproof glue is ideal)
- Ribbon, twine, or small ornaments for decoration (optional)
- Spray adhesive (optional, for extra snowy effect on jar walls)
- Clear acrylic sealer (optional for weatherproofing the jar)
- Decorative items such as pinecones, small ornaments, or holly berries (optional)
Step-by-Step Instructions:
1. Choose Your Jar and Theme
- Pick a mason jar size that matches the scale of your decorations.
- Decide on a theme: winter wonderland, Christmas village, or snowy forest.
2. Prepare the Figurines and Base
- Remove the mason jar lid and separate the flat sealing disc from the outer ring.
- Arrange your figurines on the flat sealing disc (this will be your base).
- Use epoxy glue or a hot glue gun to attach the figurines securely to the lid.
- Let the glue dry completely to ensure the decorations won’t shift.
3. Add the Snow Layer
- Pour a layer of fake snow into the mason jar. The amount depends on your jar size and the effect you want:
- Light snowfall: Add just enough to cover the bottom of the jar.
- Heavy snow: Add more for a fuller, snowy look.
- Optional: Sprinkle some glitter into the snow for extra sparkle.
4. Add Additional Snow Effects (Optional)
- Spray the inside walls of the jar lightly with spray adhesive.
- Sprinkle fake snow or glitter on the adhesive to create a frosted or snowy effect.
- Let the adhesive dry completely before assembling.
5. Attach the Lid
- Carefully invert the mason jar and screw on the lid with the glued figurines inside.
- Ensure the lid is tightly secured so the decorations stay in place.
6. Decorate the Lid and Jar
- Wrap the jar lid with ribbon, twine, or decorative fabric.
- Add small accents like holly berries, miniature ornaments, or pinecones to the ribbon for extra flair.
7. Optional: Seal the Jar
- If you want the jar to be weatherproof, seal it with clear acrylic spray.
- This is especially useful if you plan to display the jars outdoors or in humid areas.
8. Display Your Snow Globe
- Place it on a shelf, mantel, or table for a festive decoration.
- Combine several jars of different sizes for a seasonal display.
Creative Variations:
- Holiday Centerpieces: Use multiple jars and arrange them on a tray with candles, greenery, or fairy lights.
- LED Light Effects: Add battery-operated LED fairy lights inside or around the jar for a magical glow.
- Custom Themes: Create non-winter variations, such as fall scenes with mini pumpkins or spring themes with flowers.
This craft is simple, customizable, and adds a cozy, handmade touch to any seasonal décor.
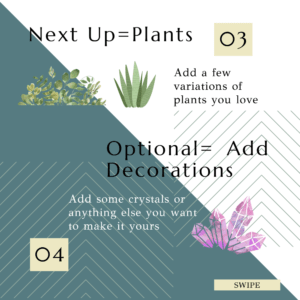
Mason Jar Planters and Terrariums
Do you love plants and want to add some green to your home? Mason jars are perfect for this. You can make indoor herb gardens, succulent arrangements, or beach-themed terrariums. It’s time to get creative and make your own mini garden.
Indoor Herb Gardens
Want to save money on herbs? Grow your own with a mason jar herb garden. Just fill a jar with soil, plant your favorite herbs like basil, thyme, or rosemary, and watch them grow on your windowsill. You’ll have fresh herbs for cooking and a natural look in your kitchen.
Succulent Arrangements
Succulents are all the rage, and for a good reason. They’re easy to care for and look great. Create a mason jar succulent garden. Start with rocks, then add succulent soil and arrange your succulents like echeveria, jade, and sedum. Water them a little, and they’ll show off their colors and shapes.
Beach-Themed Terrariums
Craving a beach vibe? Make a mason jar terrarium. Begin with sand or pebbles, then add shells, driftwood, and small figures for a beach scene. Finish with plants like ferns or air plants, and you’ll have a mini beach on your coffee table.
Mason jars can be turned into amazing plant displays. Whether you’re a seasoned gardener or just want some green, these ideas will spark your creativity. They’ll make your home happier and more beautiful.


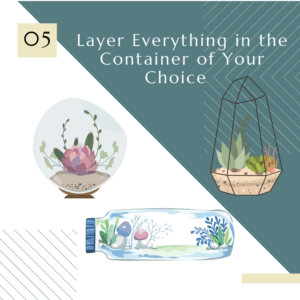
Mason Jar Terrarium
Creating a Mason Jar Terrarium is a fun and creative project that brings a touch of nature into your home. Here are detailed step-by-step instructions to guide you:
Materials Needed:
- Mason jar (clear and clean)
- Small pebbles or gravel
- Activated charcoal (available at garden centers or pet stores)
- Potting soil
- Small plants (such as moss, succulents, or tiny ferns)
- Decorative elements (optional: tiny figurines, small stones, sand)
- Spoon or small scoop
- Spray bottle with water
Step-by-Step Instructions:
1. Prepare the Jar
- Clean your mason jar thoroughly and let it dry completely.
- Make sure it’s clear so you can see the layers of your terrarium.
2. Add the Drainage Layer
- Why? Plants need proper drainage to avoid root rot.
- Place a 1- to 2-inch layer of small pebbles or gravel at the bottom of the jar.
3. Add the Activated Charcoal
- Why? Charcoal helps filter the water and keeps the terrarium fresh.
- Sprinkle a thin layer (about ½ inch) of activated charcoal over the pebbles.
4. Add the Potting Soil
- Add a layer of potting soil on top of the charcoal. The thickness will depend on the type of plants you’re using:
- Succulents: 1-2 inches of soil.
- Moss/Ferns: 2-3 inches to allow room for roots.
- Use a spoon or scoop to even out the surface.
5. Add Plants
- Remove your small plants from their pots and gently loosen the roots. Trim if necessary.
- Make small holes in the soil with your finger or a spoon and place the plants into the soil.
- Press the soil around the base of each plant to secure it.
6. Add Decorative Elements (Optional)
- Place small decorative stones, sand, or figurines around the plants to create a miniature landscape.
- Be creative! This step personalizes your terrarium.
7. Water the Terrarium
- Use a spray bottle to lightly mist the plants and soil. Avoid overwatering, especially for succulents.
- The water should dampen the soil but not pool at the bottom.
8. Seal or Leave Open
- Sealed Jar: Creates a humid environment, ideal for moss or ferns.
- Open Jar: Better for succulents or cacti that prefer drier conditions.
9. Place the Terrarium
- Find a location with indirect sunlight. Direct sunlight can overheat the jar and harm the plants.
10. Maintain the Terrarium
- Watering: Mist when the soil starts to look dry.
- Cleaning: Wipe the inside of the jar with a clean cloth if condensation builds up.
- Trimming: Remove any dead leaves or overgrown plants.
Tips for Success:
- Choose plants with similar light and moisture requirements.
- Avoid overcrowding the jar to allow plants room to grow.
- Monitor for mold or overwatering, especially in sealed jars.
This beautiful mini garden can last for years with proper care and adds a lovely, natural touch to any space.

Painted and Decorated Mason Jar Centerpieces
Get ready to add a touch of DIY magic to your home decor with these stunning mason jar centerpieces! We’ll transform mason jars into show creative centerpieces.
Chalky Paint Techniques
Grab some chalky paint for your mason jars and start with multiple coats of acrylic paint in earthy tones. Use orange, yellow, and brown.
As the paint dries, gently distress the jars with sandpaper or a nail file. This reveals glimpses of the glass underneath. It adds instant character and depth to your mason jar art.
Glitter and Monogram Designs
Add a touch of glamour with sparkling glitter and personalized monograms. Apply Mod Podge to the jars, then sprinkle on your favorite glitter hues. Let it dry.
Use a paint pen or vinyl decals to add a monogram or special message. These jars are perfect for adding a personal touch to your home decor or as thoughtful gifts.
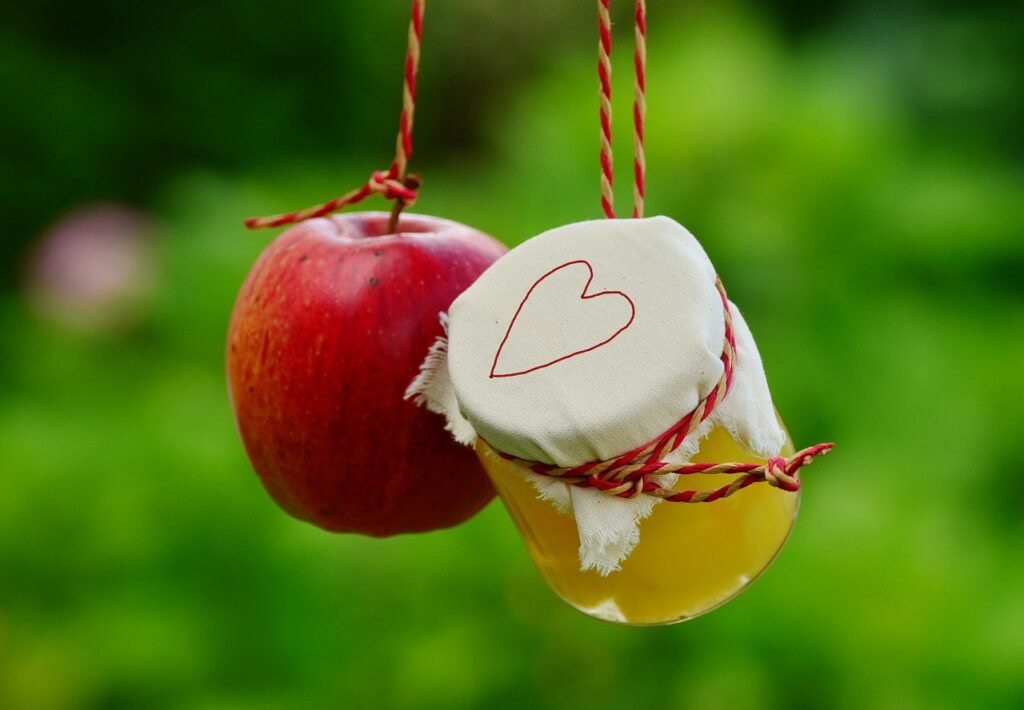
Mason Jar Gift Ideas for Special Occasions
These DIY Christmas mason jar gifts are easy to make and require just a few supplies. Say bye to last minute Christmas shopping or make some for yourself.
Homemade Mason Jar Candle
Materials Needed:
- Mason jars (any size, clear or tinted)
- Candle wax (soy wax, beeswax, or paraffin wax)
- Wick (size depends on the jar; check packaging for guidance)
- Wick stickers or hot glue
- Double boiler or a heatproof container and saucepan
- Fragrance oil (optional, for scented candles)
- Candle dye or crayon shavings (optional, for colored candles)
- Wooden skewer, chopstick, or pencil (to hold the wick in place)
- Thermometer (optional, for precise melting)
- Scissors (to trim the wick)
- Ribbon, twine, or labels for decoration (optional)
Step-by-Step Instructions:
1. Prepare the Jars and Wick
- Clean the mason jars thoroughly and let them dry completely.
- Attach the wick to the bottom center of the jar using a wick sticker or a dab of hot glue. Press firmly to secure it in place.
- Wrap the top of the wick around a skewer, chopstick, or pencil and balance it across the top of the jar to keep the wick centered and upright.
2. Melt the Wax
- Use a double boiler or a heatproof container placed in a saucepan of water to melt the wax slowly over medium heat.
- Stir occasionally to ensure even melting.
- Monitor the temperature with a thermometer if using one. (Ideal melting temperatures vary by wax type but are usually between 120°F and 185°F.)
3. Add Fragrance and Dye (Optional)
- Once the wax is fully melted, remove it from the heat.
- If desired, add fragrance oil (typically 6-10% of the wax weight, or check your fragrance oil’s instructions). Stir well.
- Add candle dye or crayon shavings to color the wax. Stir until evenly blended.
4. Pour the Wax into the Jar
- Allow the wax to cool slightly (to around 135°F to 140°F for soy wax) to prevent the jar from cracking and to minimize air bubbles.
- Slowly pour the melted wax into the mason jar, holding the wick in place with the skewer or chopstick. Leave about ½ inch of space at the top.
- Let the candle sit undisturbed until the wax has hardened (about 2-4 hours).
5. Trim the Wick
- Once the wax is fully set, trim the wick to about ¼ inch above the wax surface.
- This length is ideal for a clean and safe burn.
6. Decorate the Jar
- Wrap the lid or rim of the jar with twine, ribbon, or fabric.
- Add a tag with a personal message or the candle’s scent.
- Use stencils or stickers to decorate the jar if desired.
7. Cure the Candle (Optional)
- Let the candle cure for 24-48 hours before lighting. This allows the fragrance to fully develop and the wax to stabilize.
8. Light and Enjoy
- Light your homemade candle to enjoy its warm glow and aroma!
- Always follow candle safety guidelines: trim the wick before each use and never leave a burning candle unattended.
Tips for Success:
- Choose the Right Wick: The wick size should match the jar diameter for an even burn.
- Layered Candles: Create layers of different colors by pouring wax in stages, letting each layer cool before adding the next.
- Eco-Friendly Options: Use soy wax and cotton or wood wicks for a more sustainable candle.

Hot Cocoa Kit in a Mason Jar
Materials Needed:
- Mason jar (16 oz or larger, depending on the number of servings)
- Cocoa powder or hot chocolate mix (store-bought or homemade)
- Mini marshmallows
- Chocolate chips, crushed candy canes, or other mix-ins (optional)
- Ribbon, twine, or fabric for decoration
- Printable or handwritten tag with instructions
- Small baggies or separators (optional, to keep ingredients layered and fresh)
- Optional: A spoon, candy cane, or small whisk to attach to the jar
Step-by-Step Instructions:
1. Clean the Jar
- Wash and dry the mason jar thoroughly to ensure it is clean and ready for food storage.
2. Layer the Ingredients
- First Layer: Add cocoa powder or hot chocolate mix to the bottom of the jar. Depending on the size of the jar, aim for about 1 cup of mix (enough for 4-6 servings). Use a funnel or spoon to keep the sides of the jar clean.
- Second Layer: Add chocolate chips, crushed candy canes, or other mix-ins. Use about ¼ cup for this layer.
- Third Layer: Top with mini marshmallows. Fill the jar to the brim to ensure the marshmallows stay fluffy.
- Optional: If you prefer the ingredients to remain separate, use small plastic bags or cupcake liners between layers.
3. Secure the Lid
- Screw the mason jar lid on tightly to keep the contents fresh.
4. Create the Instruction Tag
- Write or print a tag with instructions on how to prepare the hot cocoa. Example text:
- “Hot Cocoa Instructions: Add 2-3 tablespoons of mix to a cup of hot milk or water. Stir well, top with marshmallows, and enjoy!”
- Punch a hole in the tag and attach it to the jar with ribbon or twine.
5. Decorate the Jar
- Wrap ribbon, twine, or fabric around the lid or neck of the jar.
- Add seasonal embellishments such as holly berries, tiny ornaments, or a sprig of evergreen for a festive touch.
- Tie a candy cane, spoon, or small whisk to the ribbon for added charm.
6. Gift or Display
- Your hot cocoa kit is now ready to be gifted or displayed. These make excellent stocking stuffers, teacher gifts, or party favors.
Creative Variations:
- Themed Mixes: Use white chocolate powder and peppermint chips for a “White Chocolate Peppermint Cocoa.”
- Deluxe Additions: Include a small jar of caramel sauce or a packet of flavored syrup on the side.
- Customized Jar Labels: Create custom labels or stickers with the recipient’s name or a festive design.
- Vegan-Friendly: Use dairy-free cocoa mix and marshmallows to cater to dietary preferences.

Hanging Herb Garden with Mason Jars
Materials Needed:
- Mason jars (as many as you want for your herb garden)
- Hose clamps (one for each jar)
- Wooden board or pallet (to mount the jars)
- Screws and a screwdriver (or a drill)
- Wall hooks or mounting brackets (for hanging the board)
- Potting soil
- Herb plants (basil, mint, parsley, thyme, etc.)
- Small pebbles or gravel (for drainage)
- Labels or chalkboard paint (optional, for labeling the jars)
- Paint or stain (optional, for decorating the wooden board)
Step-by-Step Instructions:
1. Prepare the Wooden Board
- Choose a sturdy wooden board that will serve as the base for your herb garden.
- Sand the board to remove splinters, then paint or stain it if desired. Let it dry completely.
- Decide on the layout for your jars (evenly spaced or staggered) and mark the positions.
2. Attach the Hose Clamps to the Board
- Place a hose clamp over the mason jar and adjust it to fit snugly around the neck of the jar.
- Use a screwdriver or drill to attach the hose clamp to the wooden board at each marked position. Ensure the clamps are secure.
3. Add Drainage and Soil to the Jars
- Place a layer of small pebbles or gravel at the bottom of each jar for drainage, as mason jars don’t have holes.
- Fill the jars about ¾ full with potting soil, leaving space for the herb plants.
4. Plant the Herbs
- Remove your herbs from their pots and gently loosen the roots.
- Place each herb in a jar and add more soil around the plant to secure it. Press gently to ensure the plant is stable.
5. Mount the Board
- Attach wall hooks or mounting brackets to the back of the board.
- Hang the board on a wall that receives adequate sunlight for the herbs, such as a kitchen wall or near a window.
6. Label the Jars (Optional)
- Use chalkboard paint to create a label on each jar, or attach stickers to write the names of the herbs.
- This adds a personal touch and helps identify the plants.
7. Water and Maintain the Garden
- Water the herbs lightly to avoid water pooling at the bottom of the jars.
- Place the jars in a well-lit area and rotate them occasionally for even sunlight.
- Harvest herbs regularly to encourage new growth and prevent overcrowding.
Tips for Success:
- Herb Selection: Choose herbs that thrive indoors, such as basil, parsley, mint, thyme, rosemary, or chives.
- Sunlight Needs: Ensure the garden gets 4-6 hours of sunlight daily. If natural light is insufficient, consider using grow lights.
- Watering: Avoid overwatering since the jars lack drainage holes. Use a spray bottle or small watering can for precise watering.
- Creative Alternatives: Instead of a wooden board, try attaching jars to a wire rack, pegboard, or directly to a wall with hooks.
Conclusion
There you have it! Several fun, quick, and easy DIY mason jar crafts! We’ve seen everything from bright lighting projects to beautiful seasonal decorations. We’ve also looked at easy and thoughtful gift ideas. The possibilities with mason jars are endless.
The beauty of these DIY mason jar crafts is how you can make them your own. You can customize them to fit your style and preferences. Don’t be afraid to add your own twist and let your creativity go wild. Crafting is all about enjoying the journey, not just the end result.
So, what are you waiting for? Get your supplies ready and dive into these mason jar projects. Whether you want to change up your home decor or make unique gifts, these ideas will give you a head start if you need some fresh inspiration! Let me know what you create!