Skip to content
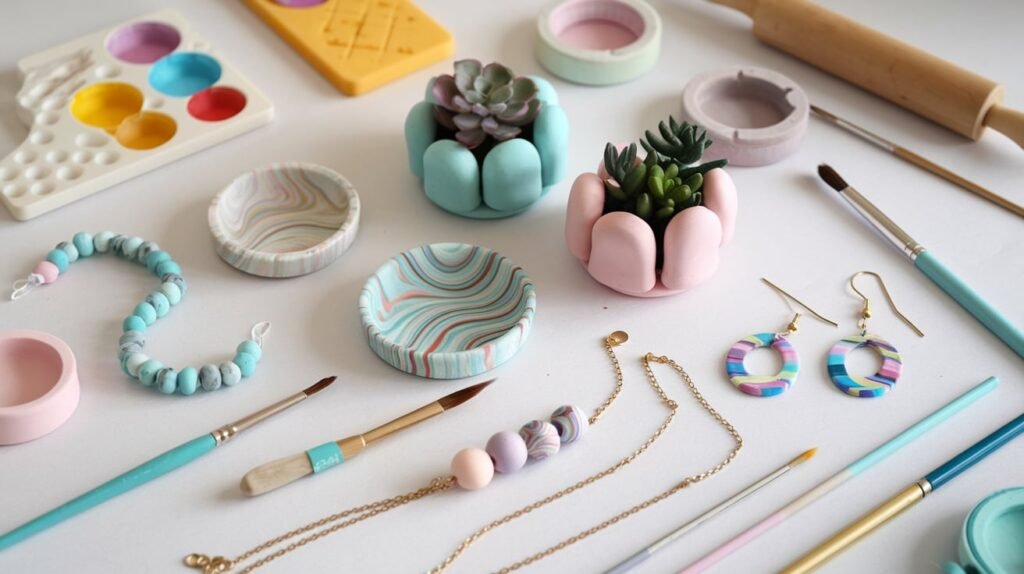
Welcome to the wonderful world of DIY clay projects! Whether you’re a seasoned crafter or just dipping your hands into the creative pool for the first time, working with clay is an incredibly rewarding experience.
There’s something so satisfying about transforming a simple lump of clay into something unique and beautiful with just your hands, a few tools, and a dash of imagination.
I’ve compiled a list of 13 easy clay craft ideas that’ll make your hands happy and your home a little more handmade! These are perfect for gifts, decor, or just a fun way to spend an afternoon. Grab your clay and let’s do this!

This post contains affiliate links. For more information please see my affiliate disclosure page.
Getting Started with Clay Crafting: Essential Materials and Tools
Crafting with clay is a fun and rewarding hobby. It’s great for both beginners and experienced artists. Having the right materials and tools is essential for your creative journey.
Types of Clay for Different Projects
There are many types of clay to choose from. Polymer clays like Sculpey Premo or Fimo are perfect for beginners. They are easy to work with and come in many colors.
Air-dry clay is another good option. It doesn’t need baking and is great for jewelry and home decor. For more detailed work, Das clay is a firm and durable choice.
Basic Tools Every Clay Crafter Needs
- X-acto or craft knife with a #11 blade
- Acrylic rolling pin for conditioning the clay
- Ceramic tiles or baking sheets for work surfaces
- Foil pans and binder clips for baking
- Household items like spray bottles, old toothbrushes, and sandpaper
- Clay cutter’s of various shapes
As you get better, you might want specialized tools. Texture sheets, clay stamps, extruders, and sculpting tools are great for detailed designs. But don’t forget to use everyday items like toothpicks and Ziploc bags too.
Workspace Setup and Safety Tips
Having a dedicated workspace is key for clay crafting. Make sure it has good lighting, a non-stick surface, and proper ventilation. Always work in a well-ventilated area and keep your supplies away from food.
Quick Tips when working with clay
If you’re struggling to work with your clay because it feels unmanageable, try adding just a drop or two of water to make it more pliable. If you notice cracks or holes, it’s best to fix them before the clay dries completely. Addressing imperfections while the clay is still soft is much easier than working with hardened clay.
To smooth out cracks, simply dip your fingers in a small dish of water and gently rub them over the cracked areas until they blend seamlessly. While you can also do this after the clay has dried, it’s much simpler and more effective to tackle these issues early on.
Once your clay is fully dry, you can refine it further using fine-grade sandpaper to smooth out any rough spots or imperfections for a polished finish.
1. Miniature Clay Succulent Planters
Succulents are adorable, but you know what’s even cuter? Tiny little planters you make yourself! You can shape them into fun geometric designs, paint them with metallic accents, or even go for something playful like an animal face. These planters are small enough for even the tiniest of desks, and trust me, they’ll bring a smile to anyone’s face.
Instructions:
- Start with a ball of air-dry clay and roll it into a smooth sphere.
- Use your fingers or a tool to shape the ball into a small pot, pressing the center to form a hollow space for the plant. I usually find it easier to use a small bowl or a glass to shape something like this around. It will allow for it to dry in the shape you want.
- Smooth the edges with a damp sponge or water.
- Let it dry completely (usually 24-48 hours).
- Once dry, paint with acrylic paints or leave it plain for a natural look. Seal with a clear varnish if desired.

2. Personalized Clay Name Tags
Nothing says “I care” like a handmade touch. Roll out some air-dry clay, cut it into rectangles, and use a stamp or carving tool to etch in names. Once they’re dry, tie them with twine or ribbon to attach them to gifts or even hang as decorative tags around the house. These are simple but oh-so-thoughtful.
Instructions:
- Roll out air-dry clay to about ¼ inch thickness.
- Use a ruler and knife to cut out rectangular or oval shapes.
- Stamp names or designs into the clay using letter stamps or carving tools.
- Punch a hole near the top using a straw or toothpick.
- Let it dry completely, then paint or leave it natural. Add ribbon or twine through the hole for attaching.
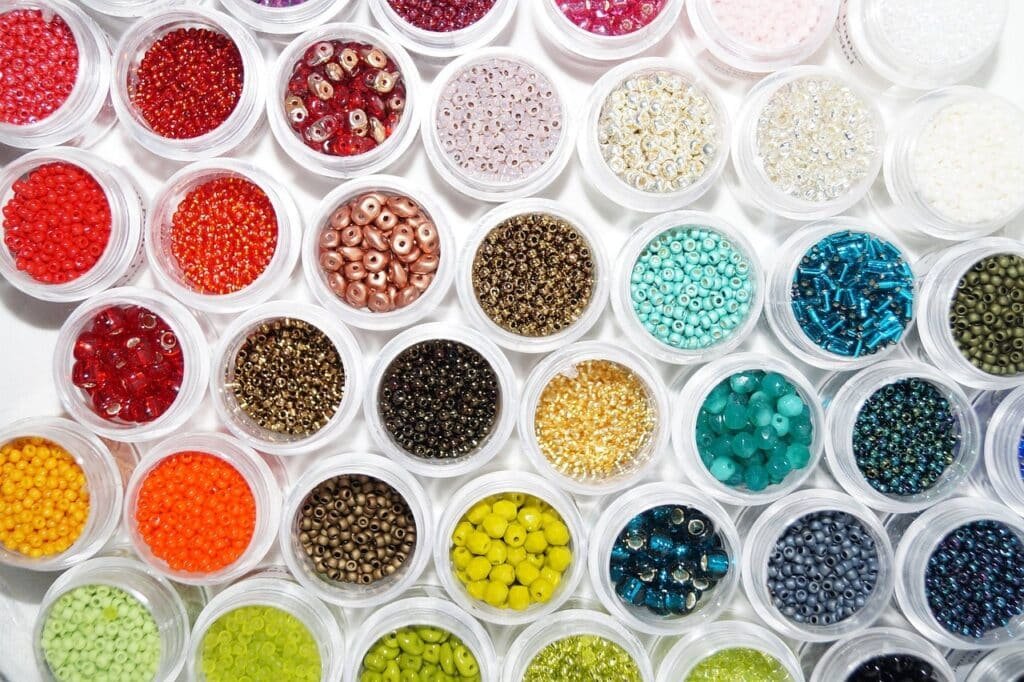
3. Clay Bead Necklaces
Jewelry-making is so satisfying, especially when you create your own beads! Roll your clay into small spheres, ovals, or funky geometric shapes. You can even mix colors for a marbled effect or paint them with metallic accents. String them together to make a statement necklace or keep it simple for everyday wear.
Instructions:
- Roll small pieces of polymer clay into beads of your preferred shape (round, oval, or abstract).
- Use a toothpick or skewer to create a hole through the center of each bead.
- Bake according to the clay’s package instructions.
- Once cooled, paint or glaze the beads if desired.
- String them onto a necklace cord or chain, alternating colors and shapes for variety.
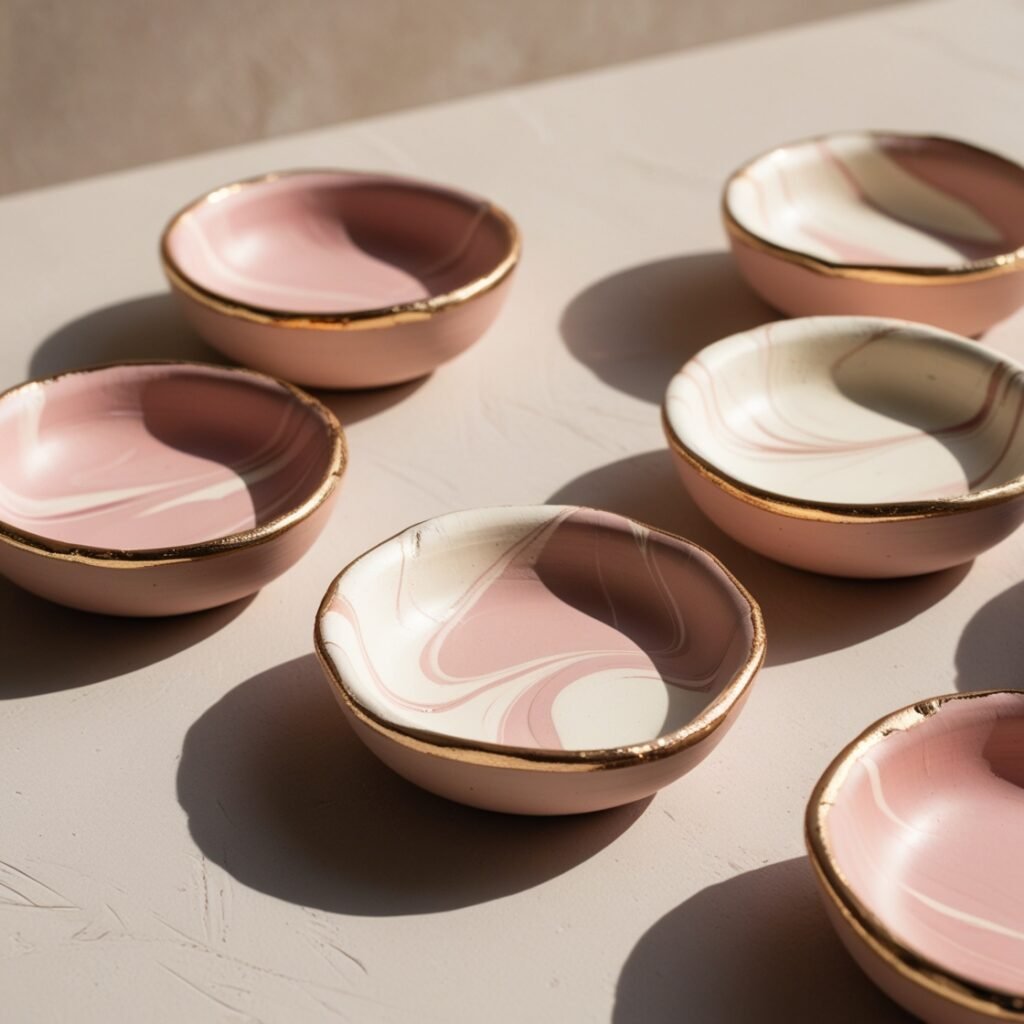
4. Marbled Clay Trinket Dishes
Trinket dishes are a must-have for holding rings, earrings, or spare keys. You can achieve that beautiful marbled effect by twisting together two or more clay colors, rolling them out, and shaping them into small dishes. Pressing a bowl over them helps get the perfect curve!
Instructions:
- Take two or three colors of clay and roll them into thin ropes.
- Twist the ropes together, then roll into a ball to blend colors into a marbled pattern.
- Flatten the ball with a rolling pin and use a bowl or cup to cut out a circle.
- Place the clay circle over the bottom of a bowl to shape it into a dish.
- Let it dry (air-dry clay) or bake (polymer clay) as directed. Paint edges with metallic paint for extra flair.
5. Clay Gift Tags
Why settle for plain paper gift tags when you can make them from clay? Roll out the clay, cut out shapes using cookie cutters (stars, hearts, or even Christmas trees), and punch a hole at the top. Write on them with a fine-tipped marker or etch designs before drying. These tags make your gifts unforgettable!
Instructions:
Let the tags dry completely, then paint or leave them natural. Add twine or ribbon through the hole.
Roll out air-dry clay to ¼ inch thickness.
Use cookie cutters to cut out shapes like stars, hearts, or seasonal designs.
Stamp patterns or words onto the shapes, then use a straw to create a hole for ribbon.
6. Statement Clay Earrings
Nothing beats a pair of handmade earrings! Polymer clay is perfect for this because it’s lightweight and comes in so many colors. Create bold geometric designs, abstract patterns, or delicate florals. Attach them to earring hooks, and you’ve got yourself (or your friends!) a fashionable accessory.
Instructions:
Once baked and cooled, attach earring hooks or jump rings using pliers.
Roll polymer clay into a thin sheet (about ⅛ inch thick).
Use small cutters or a knife to cut out earring shapes (circles, teardrops, geometric designs).
Poke small holes at the top or edges where the earring hooks will attach.
Bake according to the package instructions.
7. Clay Coasters with Fun Patterns
Clay coasters are not just practical—they’re a blank canvas for your creativity! Roll out your clay, cut it into rounds, squares, or even hexagons, and add patterns with paint, stamps, or carved designs. You can make a matching set or go wild with mix-and-match styles.
Instructions:
Paint designs or add a protective sealant to make them water-resistant.
Roll out clay to about ¼ inch thickness.
Cut out circles, squares, or hexagons using a cutter or knife.
Use stamps, lace, or textured tools to add patterns.
Let them dry or bake as required.
8. Cone-Shaped Ring Holders
Do your rings need a dedicated spot? Make cone-shaped holders out of clay! They’re incredibly easy to shape by rolling clay into a cone and smoothing out any edges. Paint them in pretty colors or add stripes, dots, or even metallic accents for a polished look.
Instructions:
- Roll a piece of clay into a cone shape using your hands or a flat surface.
- Smooth the edges with a damp sponge or water.
- Let it dry or bake as per instructions.
- Paint stripes, dots, or other designs onto the cone. Seal with a clear varnish for durability.

9. Holiday Ornaments
Holiday decorations are way more special when you make them yourself. Roll out clay, use festive cookie cutters, and carve patterns or words into the shapes. Paint them after drying or leave them in a natural clay finish for a rustic look. Hang them with ribbon, and voila—your tree just got a lot cuter!
Instructions:
Add ribbon or string through the hole to hang.
Roll out air-dry clay to about ¼ inch thick.
Use cookie cutters to make shapes like stars, snowflakes, or trees.
Use a straw to punch a hole for hanging.
Let them dry completely, then paint with festive colors or metallic finishes.
10. Clay Photo Holders
Need a stylish way to display your favorite memories? Roll clay into small geometric shapes (think cubes, pyramids, or spheres) and add a loop of wire at the top. These holders are perfect for polaroids, notes, or tiny artworks.
Instructions:
- Shape clay into small geometric shapes like cubes, spheres, or pyramids.
- Insert a piece of wire into the top and curl it into a loop or spiral for holding photos.
- Let it dry or bake as required.
- Paint or glaze the shapes if desired for a finished look.

11. Boho-Inspired Wall Hangings
Bring on the boho vibes! Shape air-dry clay into beads, crescent moons, or leaf shapes, and string them together with yarn or twine. Add fringe for an extra touch, and hang it on your wall to create a cozy, artistic statement.
Instructions:
- Roll clay into beads, crescent moons, or leaf shapes.
- Create holes in the shapes for stringing.
- Let them dry or bake as directed.String them together with yarn, twine, or macrame rope, adding fringe or tassels for a boho look.
- Attach to a wooden dowel or branch and hang.

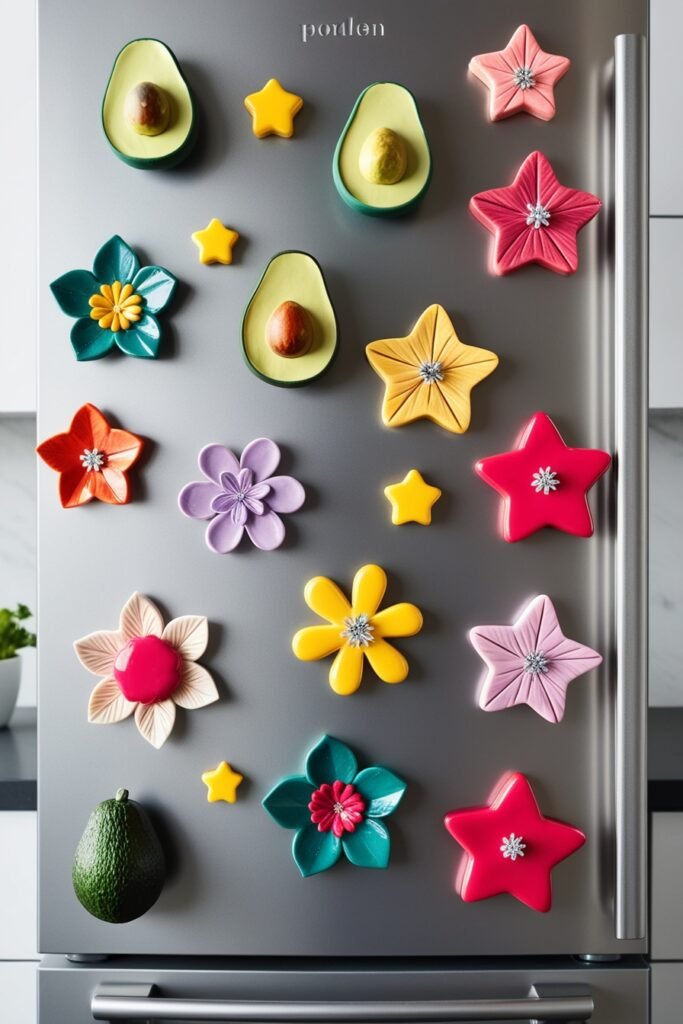
12. Cute Clay Fridge Magnets
Fridge magnets don’t have to be boring! Cut clay into fun shapes like animals, food, or abstract patterns, paint them in vibrant colors, and glue a magnet on the back. These are perfect for brightening up your kitchen space.
Instructions:
- Roll out polymer clay and cut into fun shapes like animals, fruits, or stars.
- Bake according to package instructions.
- Once cooled, glue a magnet to the back of each shape.
- Paint or glaze for a finished look.
13. Floral Candle Holders
Create flower-shaped bases for your candles by sculpting petals and forming a hollow in the middle for the candle. These are stunning as table centerpieces or thoughtful handmade gifts.
Instructions:
- Roll out clay and cut petal shapes to form a flower.
- Layer the petals around a small circular base, pressing them gently to secure.
- Leave space in the center for a tea light candle.
- Let it dry or bake, then paint in your desired colors.

Conclusion: Your Clay Crafting Adventure Awaits!
And there you have it—13 fun and creative clay crafts to inspire your next DIY session! Whether you’re making personalized gifts, decorating your home, or just enjoying the process of crafting, there’s something magical about transforming a simple piece of clay into something beautiful.
The best part? These projects are as relaxing as they are rewarding. So grab your clay, get those creative juices flowing, and let your imagination run wild. Trust me, once you start, you won’t want to stop! Which project are you trying first? Let me know—I’d love to see your creations! Happy crafting!