Skip to content
 DIY Guide: How to Make Your Own Stickers
Unleash your creativity and make your world more personal with homemade stickers! You can decorate your planner, jazz up your laptop, or create unique gifts. Learning to make your own stickers is a fun and rewarding DIY project. This guide will teach you how to make professional-looking stickers at home.

We’ll show you how to pick the best sticker paper and master printing and cutting. You’ll learn about adhesives, design optimization, and how to make your stickers waterproof. This guide is for everyone, whether you’re experienced or just starting. It will help you create custom stickers that show off your unique style.
Essential Materials and Supplies for Sticker Making
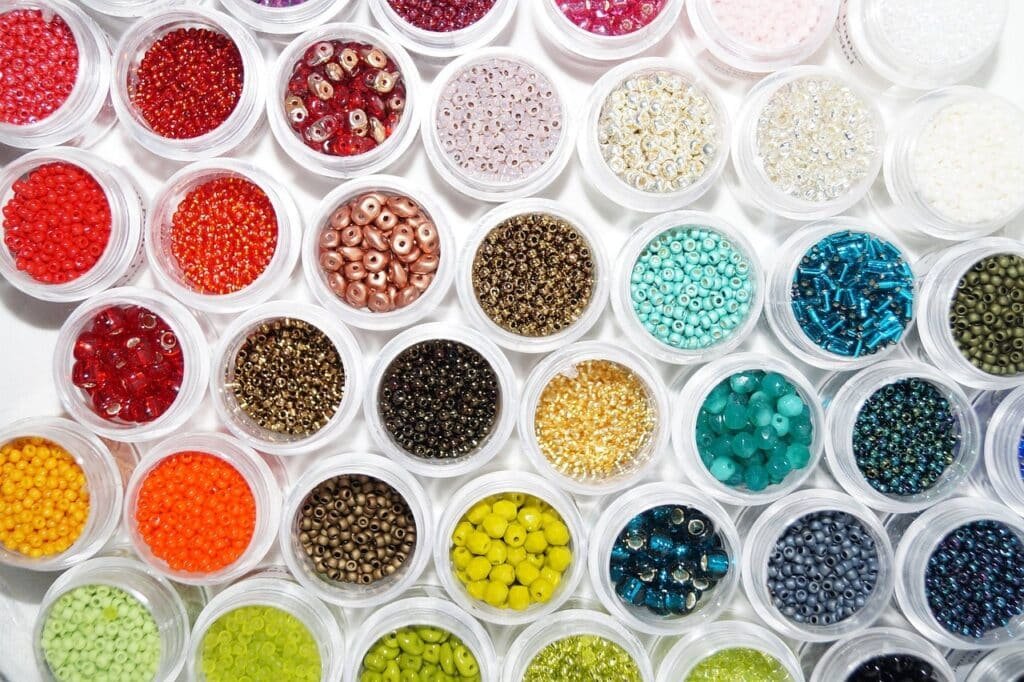
Making your own custom stickers is a fun DIY project. But, you need the right sticker making supplies. We’ll look at the basic and advanced items you need to start making stickers.
Basic Tools and Equipment
The basic things you need include:
- Parchment paper or wax paper
- Scissors or an X-acto knife
- Tape (double-sided, packing, masking)
- Ruler
- Images (hand-drawn or printed)
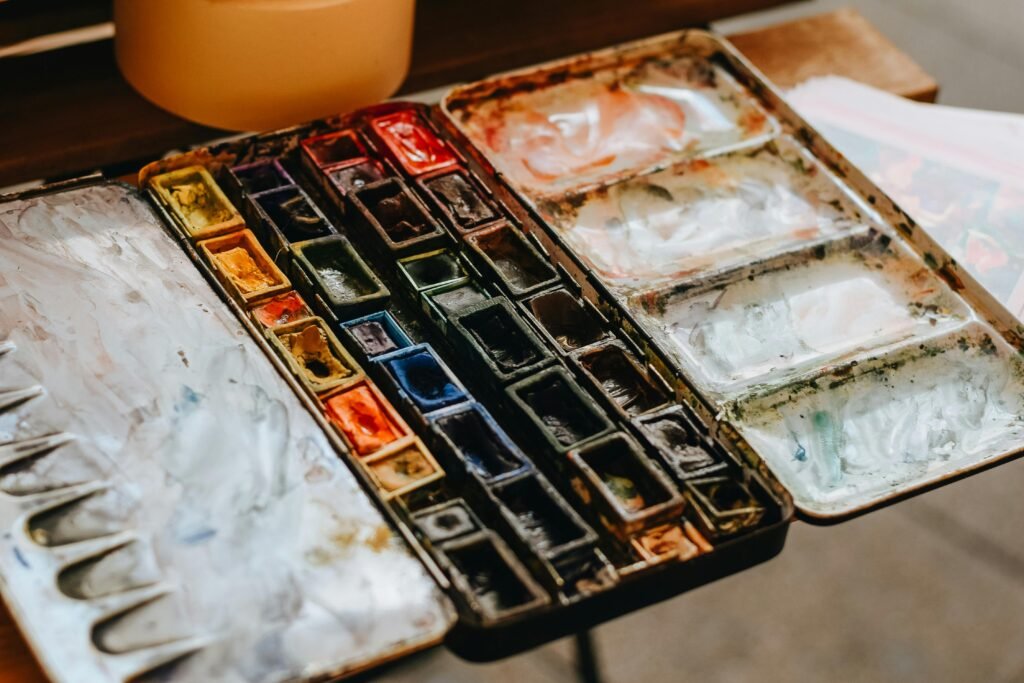
For more advanced projects, consider these:
- Mod Podge for sealing and protecting your stickers
- Multimedia or watercolor paper for unique designs
- Rubber cement for a stronger adhesive bond
- A cutting machine like Cricut or Silhouette for precision cutting
Types of Paper and Adhesives
There are many sticker materials to choose from:
| Material | Thickness | Features | Price |
|---|---|---|---|
| Vinyl Decal | 4 mils | Durable, versatile, suitable for outdoor use | $59.00 |
| Printable Sticker Vinyl | N/A | Inkjet-printable, customizable designs | $22.90 |
| Laminate Sheets | N/A | Adds extra protection and finish to stickers | $19.90 |
Optional Advanced Materials
For advanced sticker making, try these:
- Polyester sticker material (2 mils thick) for heavy-duty applications
- Silver reflective sticker material for high visibility
- Specialized finishes like matte or glossy laminate
The right sticker making supplies make a big difference. Try different materials to find what works best for you!
Understanding Different Types of Sticker Paper
Choosing the right sticker paper is key to making great stickers at home. You might want vibrant colors, a matte finish, or something that can handle water. There’s a perfect sticker paper for every need. Let’s look at the different types and what they offer.
Matte Sticker Paper
Matte sticker paper is a budget-friendly choice for DIY stickers. It has a soft, non-shiny finish that takes ink well. This means your designs might look a bit faded or pixelated. It’s best for simple designs or labels that don’t need to pop.
But, matte paper might not last long or work well in wet places.
Glossy Sticker Paper
Glossy sticker paper shines with vibrant colors. It has a shiny finish that makes your stickers stand out. The clear version is great for layered designs, like planner stickers. The opaque version is perfect for decals and other high-end stickers.
Vinyl Sticker Paper
Vinyl sticker paper is the strongest and most durable. It’s water-resistant or even waterproof, making it perfect for outdoor use. But, be careful because regular inkjet inks might not be fully waterproof. This could cause issues with water or weather.
Holographic Sticker Paper
Holographic sticker paper adds a unique sparkle to your stickers. It’s water-resistant and works well with both inkjet and laser jet printers. It gives a shimmering, iridescent look that’s sure to catch eyes.
When picking sticker paper, think about how you’ll use it, the look you want, and your printer’s capabilities. Knowing about the different types helps you choose the best one for your project. This way, you can make amazing stickers at home.
| Sticker Paper Type | Characteristics | Recommended Uses | Price Range (per 20 sheets) |
|---|---|---|---|
| Matte | Economical, subtle finish, absorbs ink | Simple designs, labels | $10 – $15 |
| Glossy (Opaque) | Vibrant colors, professional-looking | Decals, high-quality stickers | $12 – $20 |
| Glossy (Clear) | Vibrant colors, allows layering | Planner stickers, transparent designs | $12 – $20 |
| Vinyl | Thick, durable, water-resistant | Outdoor use, long-lasting stickers | $15 – $25 |
| Holographic | Unique, iridescent appearance | Eye-catching designs, special occasions | $15 – $25 |
The right sticker paper depends on your project’s needs and look. Try out different types to find the best one for your DIY stickers.
How to Make Your Own Stickers: Step-by-Step Guide
Are you ready to unleash your creative side and make your own custom stickers? Whether you’re a crafter, a small business owner, or someone who loves to personalize their belongings, making your own stickers can be fun and rewarding. Let’s dive into the step-by-step process of turning your designs into reality!
Preparing Your Workspace
Start by setting up a dedicated workspace that’s clean, well-lit, and free from distractions. Gather all the necessary materials, including your homemade sticker tutorial supplies like sticker paper, scissors or a sticker cutting machine, and any decorative elements you’d like to add. Make sure you have a stable surface to work on, and consider protecting it with a cutting mat or a sheet of parchment paper.
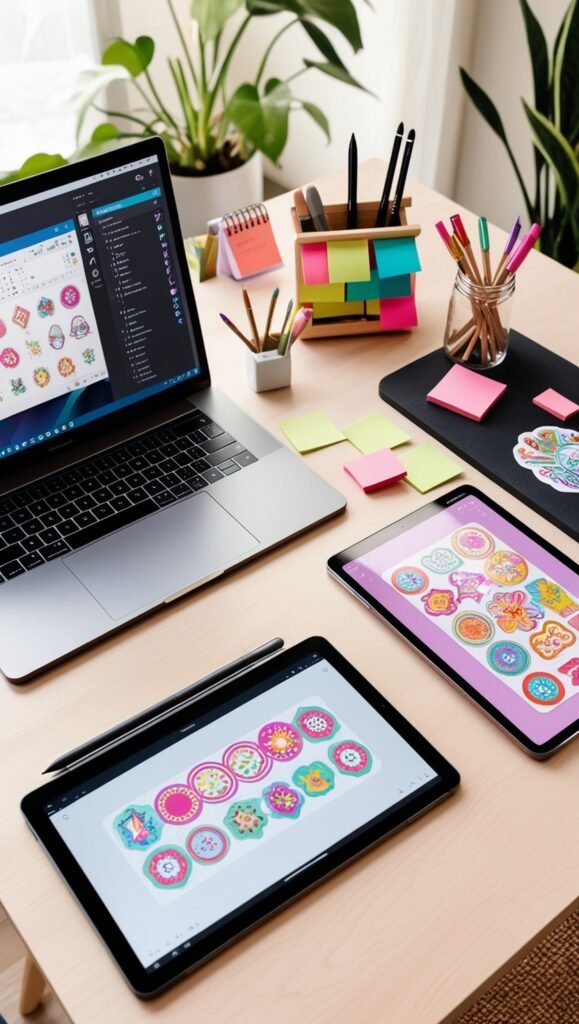
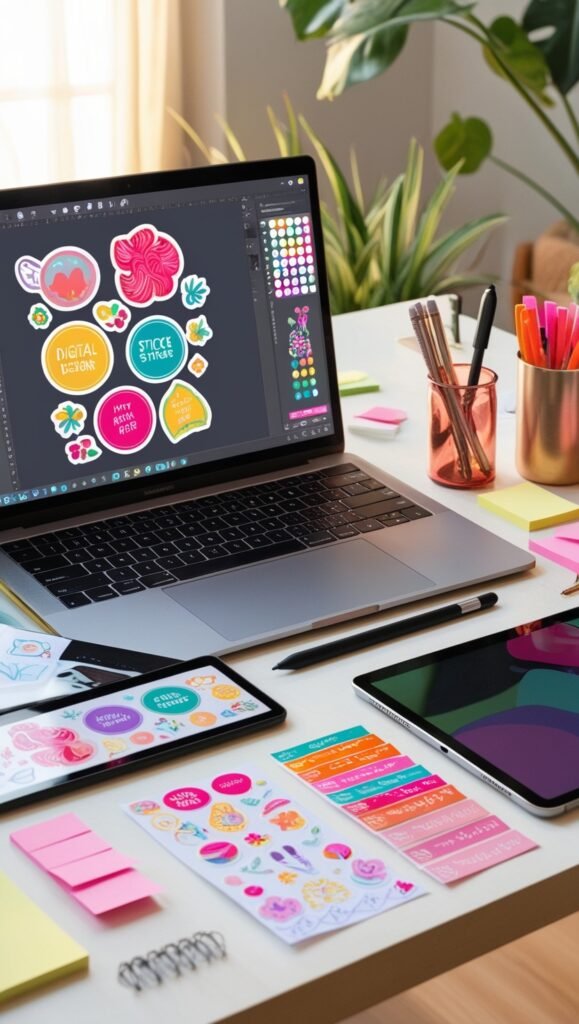
Creating Your Design
Now, it’s time to unleash your creativity! Whether you’re using a digital design software or good old-fashioned pen and paper, let your imagination run wild. You can create original artwork, incorporate photos, or use pre-made graphics and icons. The key is to design something that reflects your personal style or brand.
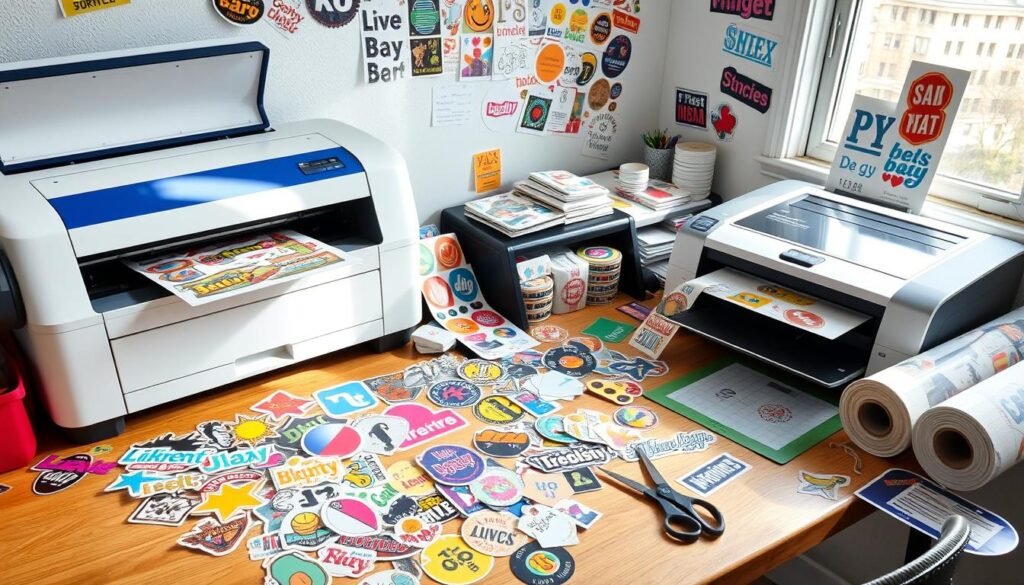
Printing Process
Once your design is ready, it’s time for printing you have 2 main choices. You can print them yourself or you can outsource the printing process. If you decide to print them at home you will want to consider using a high-quality printer and sticker paper designed for sticker-making.
Here are some Benefits of Outsourcing Sticker Printing that may appeal to you.
- Cost Efficiency for Bulk Orders: Printing services often offer discounts for large quantities, saving you money compared to buying ink, paper, and equipment for high-volume printing.
- Access to Advanced Materials: Professional printers use top-quality materials like vinyl or specialty finishes, which might not be feasible for home printing.
- Time Savings: Outsourcing frees up your time, allowing you to focus on designing or other creative aspects of your project.
- Durability and Finish: Commercial printers provide waterproofing, UV protection, and a variety of finishes like matte, glossy, or holographic, ensuring a polished, long-lasting product.
If you decide to outsource, look for services that allow you to upload your designs directly. Popular options like Sticker Mule or VistaPrint make the process simple and provide professional-quality results. By outsourcing, you can balance cost, quality, and convenience to bring your designs to life effortlessly.
Cutting Process
If you’re hand-cutting your stickers, use sharp scissors or an X-acto knife to carefully trim around the edges, leaving a small border for a clean look. Or, you can use a sticker cutting machine for a faster and more precise cutting process.
Remember, the key to making successful homemade stickers is to have fun and experiment. With a little practice, you’ll be creating stunning, one-of-a-kind stickers in no time!
Choosing the Right Printing Method
Choosing between inkjet and laser printing is key for custom stickers. Each method affects the quality and durability of your stickers. Knowing the pros and cons helps your stickers last longer.
Inkjet printers are popular for custom sticker printing. They produce vibrant colors and crisp details. But, inkjet stickers might not be as waterproof or durable as laser ones.
Laser printers, on the other hand, make more durable sticker printing techniques. Their heat-based process makes stickers resistant to fading, smudging, and water. This is ideal for outdoor use or areas with lots of foot traffic.
Think about your stickers’ use, budget, and printer capabilities when choosing. Inkjet printers are cheaper and easier to find. They’re perfect for small projects. Laser printers are pricier but better for large orders or stickers that need to last in tough conditions.
The choice between inkjet and laser printing depends on your needs and resources. Understanding each method’s strengths and weaknesses helps you make the best choice. This way, you get high-quality, durable stickers that meet your requirements.
Design Tips for Creating Professional-Looking Stickers
Making eye-catching sticker designs is an art. It can make your creations really stand out. As you explore sticker design ideas, keep these tips in mind for a professional sticker design.
Color Selection and Composition
Choose vibrant, high-contrast colors to grab attention. Pick a color palette that fits your brand or style. Try different layouts, from bold graphics to whimsical illustrations, to show off your design.
Size and Format Considerations
The size and format of your stickers matter a lot. Think about where they’ll be used and how big they should be. Big stickers are great for windows or car bumpers. Smaller ones are better for labels, scrapbooking, or decorations.
Popular Design Software Options
- Adobe Illustrator: A powerful vector-based software for creating scalable, high-quality sticker designs.
- Canva: A user-friendly, web-based platform with pre-made templates and design tools for quick and easy sticker creation.
- Procreate: A versatile digital drawing app for iPad that allows for freehand illustrations and custom sticker designs.
- Creative Fabrica- Gives you unlimited access to thousands of digital design assets and fonts
Choose software that lets you create high-resolution or vector designs. This way, your stickers will look sharp and clear when printed.
Waterproofing and Protecting Your Stickers
Making stickers that last is key to getting the most out of your money. Whether for personal use or to sell, keeping them dry and safe is essential. Let’s explore the top ways to protect your waterproof stickers from the weather and boost your sticker protection techniques.
Sealing your stickers with clear tape or Mod Podge is a simple yet effective method. It adds a layer that keeps moisture, scratches, and UV rays at bay. For stickers meant for the outdoors, use vinyl paper and UV-resistant inks. Inkjet inks are water-soluble, so extra protection is needed for outdoor stickers.
- Choose vinyl-based waterproof sticker paper for extra toughness.
- Use UV-resistant inks to stop fading from the sun.
- Seal with clear tape or Mod Podge for a protective coat.
Laminating your stickers is another great way to keep them dry. Use self-adhesive laminating sheets or a thermal laminator for a clear, scratch-proof finish. Lamination not only guards against water and wear but also makes your stickers look more professional.
The secret to durable, waterproof stickers is to focus on sticker protection techniques. By following these easy steps, your stickers will last longer and stay vibrant for years.
Using Clear vs. White Sticker Paper
Choosing between clear and white sticker paper can greatly affect your sticker’s look and feel. Each type has its own benefits. Knowing these can help you decide which is best for your project.
Benefits of Clear Sticker Paper
Clear sticker paper is great for a transparent look. It lets the background show through, adding depth to your stickers. This is perfect for stickers that need to blend in, like those on glass or windows.
Advantages of White Sticker Paper
White sticker paper is versatile and works for many designs. Its white background is clean and ready for your artwork. It’s best for stickers with bright colors or solid shapes, and it stands out on different surfaces.
When picking between clear sticker paper and white sticker paper, think about what you want your stickers to look like. Clear is for transparent effects, while white is for bold, opaque designs.
Creative Applications and Uses for Homemade Stickers
Homemade stickers are not just fun to make. They also have many practical uses. You can decorate your planner, water bottle, or laptop with them. The possibilities are endless with your own sticker designs. Let’s explore some creative ways to use these DIY stickers and spark your imagination.
Decorative Purposes
- Liven up your planner or bullet journal with custom stickers that reflect your personality and mood.
- Decorate laptops, water bottles, and other personal items to make them truly your own.
- Create custom stickers to adorn your skateboard, bike, or other gear for a unique touch.
- Use stickers to dress up gift wrapping, envelopes, and party favors for a personal touch.
Organizational and Labeling
- Design stickers to label storage containers, file folders, and other household items for an organized look.
- Make custom stickers to identify your belongings and prevent mix-ups, such as labeling your gym locker or work supplies.
- Use stickers to categorize and color-code your notes, documents, or other important materials.
Promotional and Small Business Applications
Homemade stickers aren’t just for personal use. They can also be a powerful marketing tool for small businesses. Consider creating custom stickers with your logo or branding to:
- Include as freebies or giveaways with customer orders.
- Hand out at local events or trade shows to promote your business.
- Attach to your product packaging for an eye-catching touch.
The creative uses for homemade stickers are truly endless. With a little imagination and the right tools, you can transform ordinary items into personalized masterpieces. Unleash your creativity and start exploring the world of sticker applications and creative sticker uses today!
| Sticker-Making App | Platform | Key Features |
|---|---|---|
| Sticker Maker Pro | iOS | Customizable sticker creation |
| Aviatar | iOS, Android | Personalized stickers and emojis |
| Emoji Me Face Maker | iOS | Customizable emoji stickers |
| PicsArt Photo Studio | iOS, Android | Over 3 million sticker options |
| YourMoji | iOS, Android | Millions of custom emojis and stickers |
| LINE Creators Studio | iOS, Android | Easy sticker creation and monetization |
| Assembly | iOS | Graphic design platform for stickers |
Troubleshooting Common Sticker-Making Problems
Making your own stickers can be very rewarding, but it comes with its own set of challenges. I’ve faced many issues like printing problems, adhesive troubles, and cutting conundrums. But don’t worry, with some troubleshooting, you can solve these problems and get great results every time.
Printing Problems
One common issue is ink smudging or poor color quality. Make sure your printer settings match your sticker paper. Also, let the stickers dry completely before touching them. For the best results, set your printer’s resolution to at least 300 dpi.
Adhesive Woes
If your stickers won’t stick, it might be the adhesive. Check the adhesive quality and make sure it’s right for the surface. Consider using a stronger tape for better sticking. Remember, different adhesives have different levels of stickiness.
Cutting Challenges
Getting clean, precise cuts can be hard, but it’s doable. Use sharp scissors for the best cuts. If you’re making complex designs, a cutting machine like a Cricut or Silhouette can be a game-changer. Troubleshooting is a big part of making stickers. With patience and the right techniques, you’ll soon be making perfect stickers. Happy crafting!
| Common Sticker-Making Issues | Possible Causes | Solutions |
|---|---|---|
| Ink Smudging | Improper printer settings or insufficient drying time | Adjust printer settings to match sticker paper; allow ample drying time |
| Poor Color Quality | Printer limitations or incorrect color values in artwork | Increase print resolution to at least 300 dpi; double-check color accuracy in design |
| Adhesive Failure | Low-quality adhesive or mismatch between adhesive and surface | Use a stronger, permanent adhesive tape; consider adhesive classifications |
| Uneven Cutting | Dull scissors or inaccurate manual cutting | Invest in a cutting machine for precision; use sharp, high-quality scissors |
Cost-Effective Tips for Sticker Production
Making affordable stickers is easy. Start by buying materials in bulk to get lower prices. Also, choose standard sticker paper for personal use instead of custom designs.
Use free design tools like Canva or Adobe Spark to make your stickers look great. Keep your designs simple with fewer colors and less detail. This saves money and uses your paper better.
Ordering more stickers at once can also save you money. Many printers give discounts for big orders. Plus, look out for special deals from services like CustomAny to cut your costs even more.
Conclusion
Making your own stickers is not only a creative and enjoyable hobby but also a cost-effective way to personalize your belongings, enhance your organization, and even promote your business. With the tips and techniques in this guide, you’re now equipped to start crafting custom stickers that show off your unique style.
Whether you’re decorating a planner, creating personalized gifts, or launching a small business, the possibilities with DIY stickers are endless. So, gather your materials, get creative, and start crafting! Remember, practice makes perfect, and each sticker you create brings you one step closer to becoming a sticker-making pro.